I recently upgraded to an Apple M1 Mac Mini after running various Hackintosh capable hardware configurations for nearly 15 years. A Hackintosh is MacOS installed on non-Apple hardware – something which was easily possible on Intel-based PCs. Starting with certain models introduced in late 2020, Apple began the transition from Intel processors to Apple silicon in Mac computers. The M1 is the first generation Apple silicon chip and offers several speed and power advantages over Intel based chips.
In all my years of using a Hackintosh, I never faced any kind of hard disk failure, and consequent loss of data. However, within a month of purchasing the M1 Mac Mini, two of my 3.5 inch hard disks which were in an external hard disk enclosure (DAS), failed.
Before I get into the details, let me clarify a few things:
- I am not implying that the M1 Mac Mini had something to do with the hard disk failure/data corruption. However, in all my Hackintoshes, the 3.5 inch hard disks were directly connected to the motherboard. This meant that the hard disks always woke up and shut down with the computer. My Hackintoshes also had high quality power supply units, providing stable power to all components.
- The two hard disks failed one after the other, and not at the same time. One of the hard disks was a 12TB EXOS from Western Digital, while the other one was a 6TB Western Digital Black hard disk. They were both inside a Terra Master TD2 Thunderbolt 3 enclosure, configured in single-disk mode. This means that the disks were not in JBOD or RAID configuration.
- According to the compatibility matrix on the Terra Master website, the EXOS 12 TB is not compatible with the Terra Master TD2 Thunderbolt 3 enclosure. The EXOS 12 TB was the first one to fail, so I attributed this to the incompatibility. However, the 6TB Western Digital Black is compatible with the Terra Master TD2 Thunderbolt 3 enclosure and it failed after a few weeks, thus leading me to conclude that hard disk compatibility had nothing to do with the failure.
- The Terra Master TD2 Thunderbolt 3 enclosure is a DAS (and not NAS). It is connected to my M1 Mac mini via a Terra Master provided Thunderbolt 3 cable.
- The hard disks already had data, before I put them inside the enclosure.
Hard disk failures can be of two types – physical failure of the disk, or corruption of the file system. Physical failure of hard disks can be fatal for the data in it. Only professional hard disk data recovery companies can retrieve the data from such a disk. Also, it is very difficult for an ordinary non-technical person to ascertain the cause of failure. But I was pretty sure that the hard disk did not have bad sectors or physical damage. This is because they both stopped working suddenly, with no clicking sounds from the hard disk. When a hard disk makes weird noises, it is generally indicative of a physical failure.
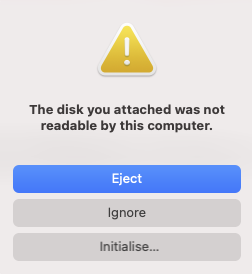
With the failed disks in the DAS, every time the Mac Mini powered on, I would see a message, “The disk you attached was not readable by this computer.” The only options I had was to initialise the disk, eject it, or ignore the error message. I had no access to the data in the disk!
Imagine, 6 TB + 12TB of data going bad. Luckily for me, the 12TB EXOS hard disk contained data which was completely backed up in another hard disk. The 6TB hard disk had media from a recent photography assignment, which was not backed up. I was yet to deliver the images and videos to the client, so I had to access the data on the 6TB hard disk at any cost.
Here are the steps I followed to get my data back:
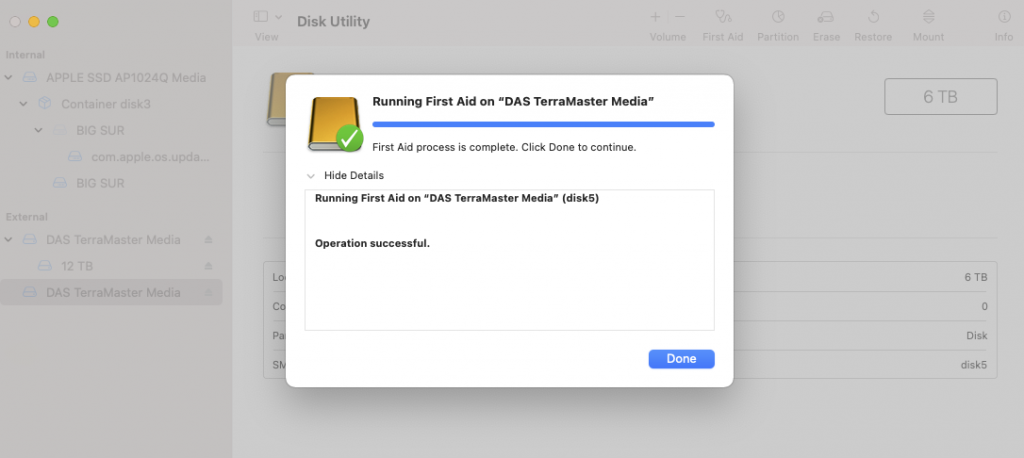
- I tried the ‘First Aid’ option in the Big Sur Disk Utility app to see if the partition can be repaired. This did not help in any way. I find the dumbed down version of Disk Utility in Big Sur pretty useless.
- I put the hard disk in an external USB hard disk enclosure to rule out any issues with the Thunderbolt 3 connectivity. This did not make any difference either.
- After googling for solutions, I came across a free MacOS software called TestDisk. Among the many things which TestDisk is capable of, it can fix a partition table and/or recover deleted partitions.
Unfortunately, TestDisk can only run from the Terminal. It is a command line utility. However, there is a paid companion app called Disk Drill Data Recovery Software, made by Clever Files, which has a UI. Disk Drill is based on TestDisk.
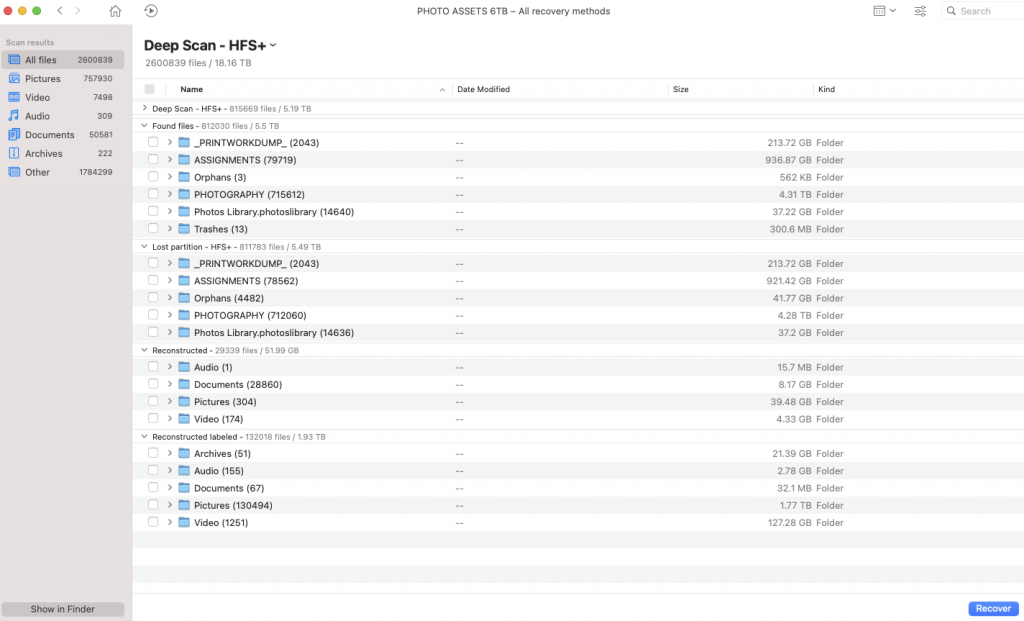
Disk Drill, like TestDisk, can do many things, including data recovery of deleted files in Mac OS X. I used it to successfully recover the assignment files which were not backed up from the corrupted partition of my 6TB Western Digital Black disk.
Disk Drill works by running different levels of scans on the hard disk. It is quite comforting to know that Disk Drill will show you the failed partition, while Disk Utility or Finder will not. A Deep Scan runs for several hours, and is your best bet to find all the files from the damaged partition.
After Disk Drill ran for a couple of hours on my hard disk, I noticed that it reported plenty of orphaned files. This lead me to conclude that the file system failure was pretty severe. The problem with file system failure on a disk which contains thousands of images is that you will never know if every recovered file is intact. It is hard to test the integrity of the recovered files when there is a large number of images. Luckily, I was able to retrieve the data which mattered to me the most – files from my photography assignment.

Why did the data on my hard disk get corrupted? Why did the partition fail? Was it because of the Terra Master DAS? Honestly, I will never know. I only know that in all the years of using hard disks directly connected to my motherboard, I never faced any problem. Also, what should I do to prevent such a failure in future? Of course, ejecting a disk before removing it from the Mac is something everyone should follow. Is it safe to keep the DAS running always, even when the Mac is shut down? Can I eject the disks from Finder, but still keep the DAS running? I wish had answers to these questions.
I did ask in the Terra Master forum as to why two of my hard disks failed after putting them in the DAS. The reply I got from the support team wasn’t satisfactory. They asked me to follow best practises such as formatting the disks in HFS+ or APFS format, and safely unmounting/ejecting the disk before removing them. From what I remember, I have never removed the hard disks without ejecting them because the DAS is always connected to the Mac Mini.
I have stayed away from a real Mac for many years because I was never comfortable with external hard disk solutions. The world of technology is very confusing and misleading. There is a big push for NAS systems but honestly, not everyone needs one. The NAS world is ridden with confusing terminology. NAS systems also come at an unnecessary premium. At the end of the day, all I need is a computer which allows me to work on data which is important to me. Management of that data shouldn’t really be such a big headache.
My worst fears of using external disks came true within a month of finally buying a Mac Mini – my first real Mac. Luckily, thanks to Disk Drill, I was able to recover my data. Going forward, I am going to take data backup more seriously!
Hey Bro – Sorry to hear abt that, but glad u were able to recover the significant data. This reminded me of my own encounter with data lose and recovery utility that came to rescue (https://liketheocean.com/reviews/recuva-the-data-recovery-that-works/). And that reminds me that I need to streamline my backup process as well … 🙂
Oh, looks like every photographer goes through this scare! Glad you too blogged about your experience.
Hi Pratap,
Make sure you have two copies of your data at least and three copies would be great (one offsite/cloud). I make a double copy as soon as finish the shoot for that day. On the field, I keep one regular disk of 4TB and an SSD for quick access.
Such data damage can happen mostly due to some electrical malfunction or earthing issues which we ignore many times and hardly notice. Sometimes connectors and cables are misbehaving too. I am using Mac for the past 8 years without any issues. Whenever I lost data that is because I messed up while copying.
The best practice is to copy on two disks as soon as you finish shooting and verifying backup.
More hi-fi systems required more IT knowledge, better to copy multiple disks and keep separate, lower the risk of data damage rather losing them in confidence (over) that my system is perfect.
by the way thanks for sharing your experience, we all learn from each other.