I want to start this post by saying that right now, I feel blessed, happy, and comfortable. But my future feels more uncertain than ever. And 2024 was the year I came to terms with this reality.
A Quick Recap of the Year Gone By:
January – March:
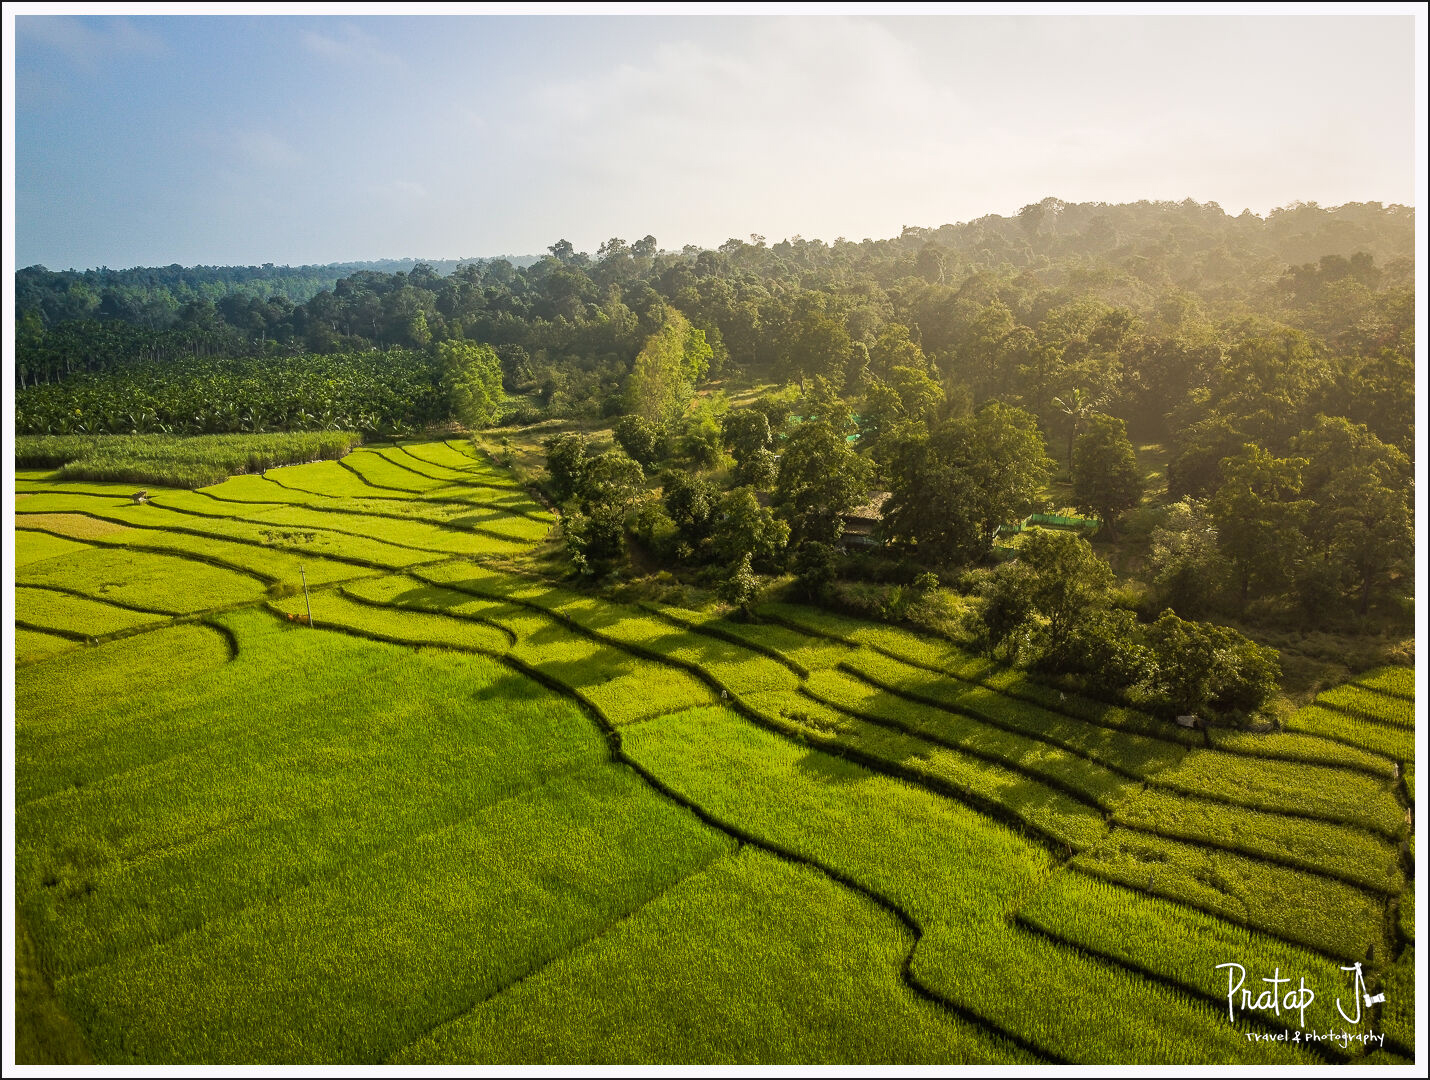
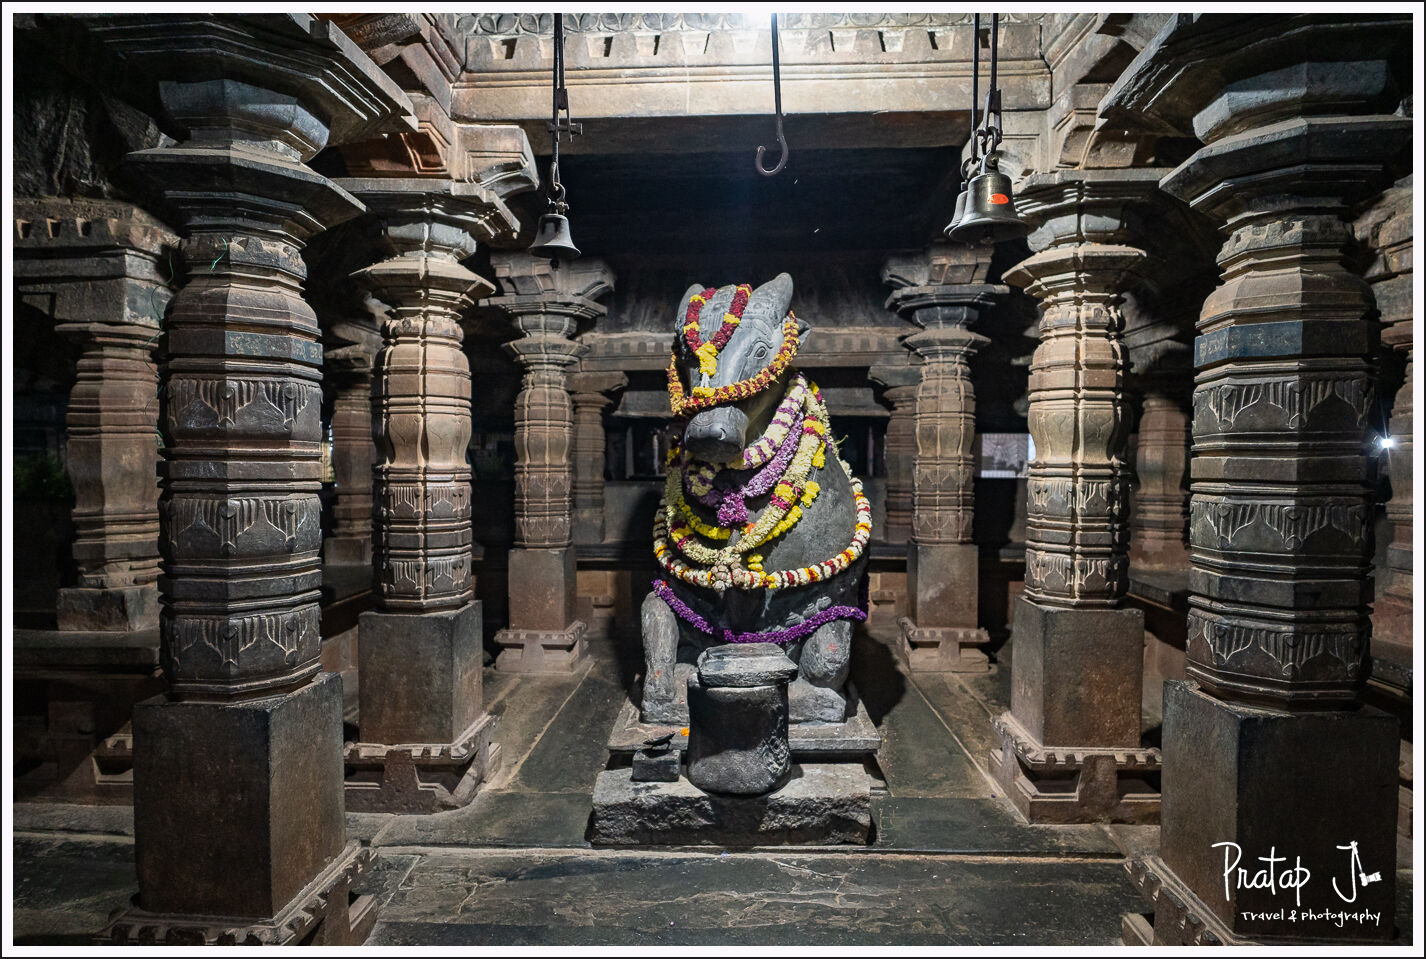
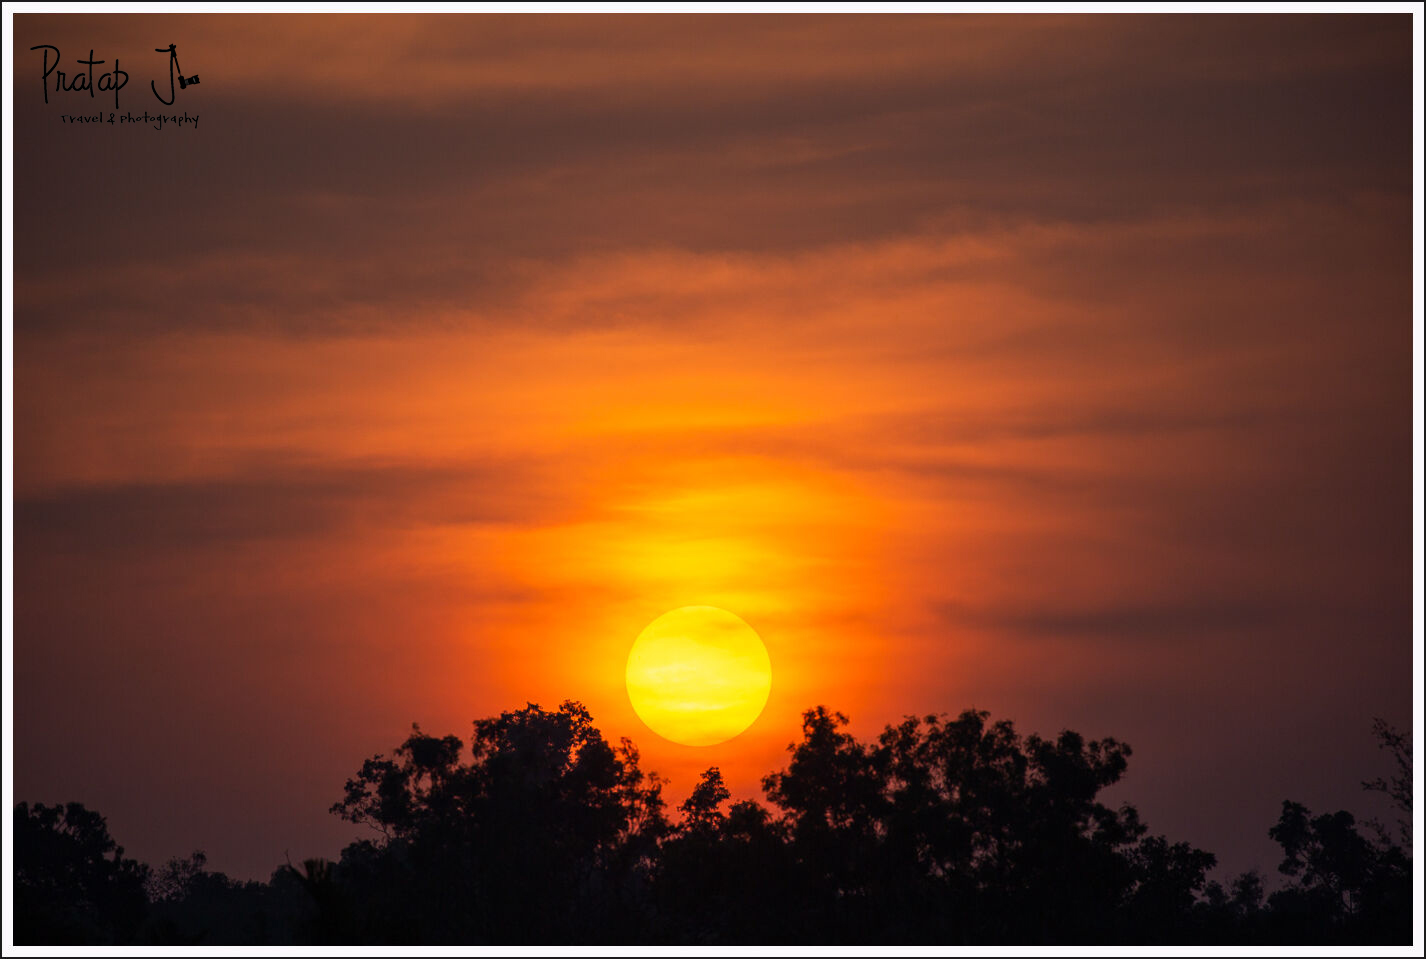
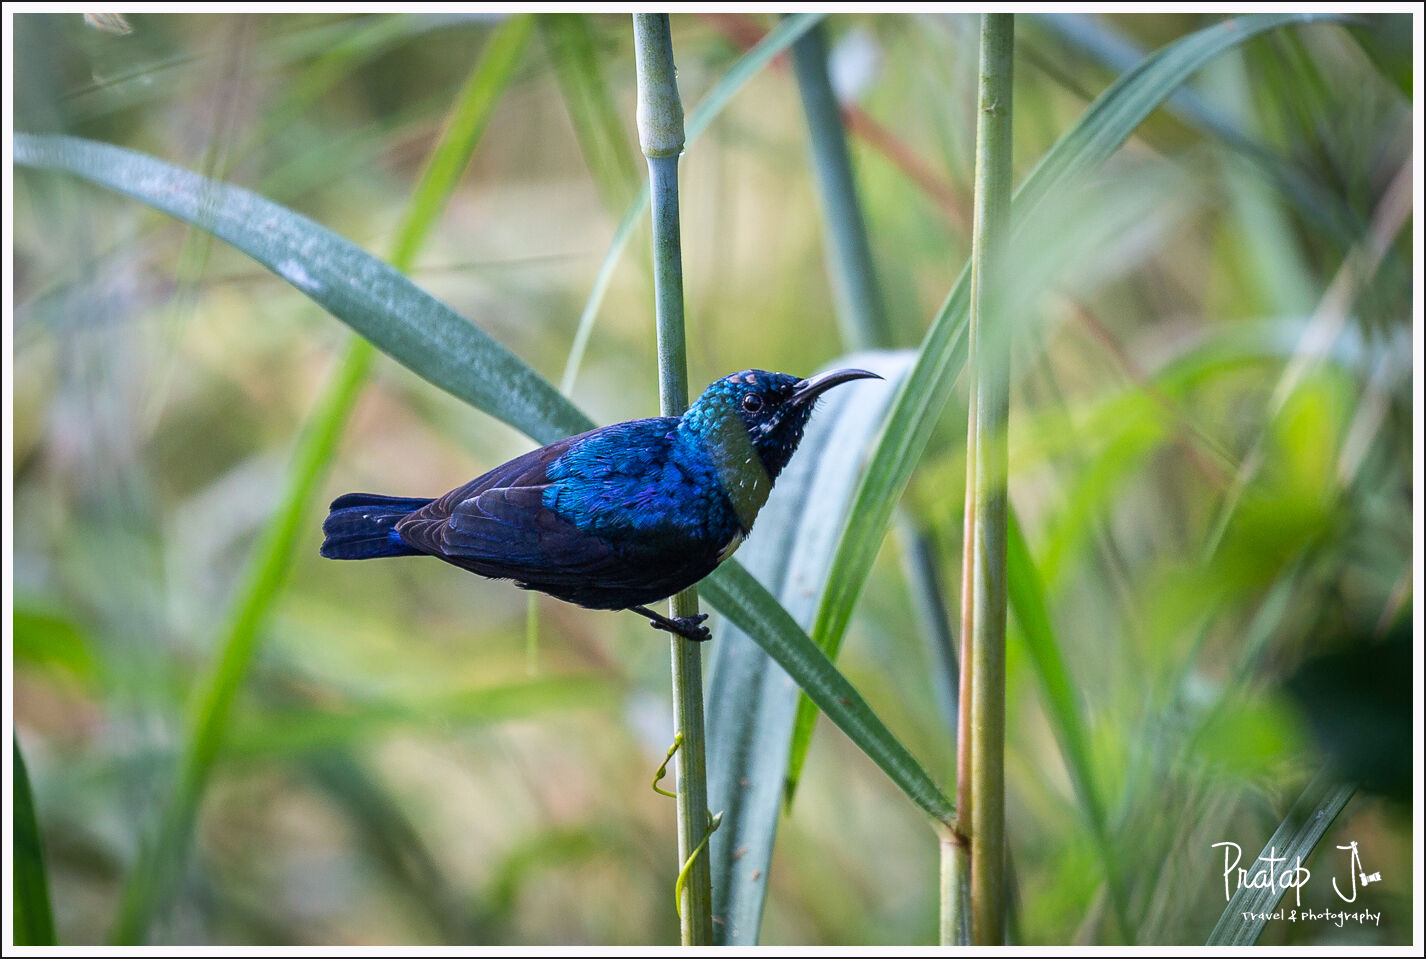
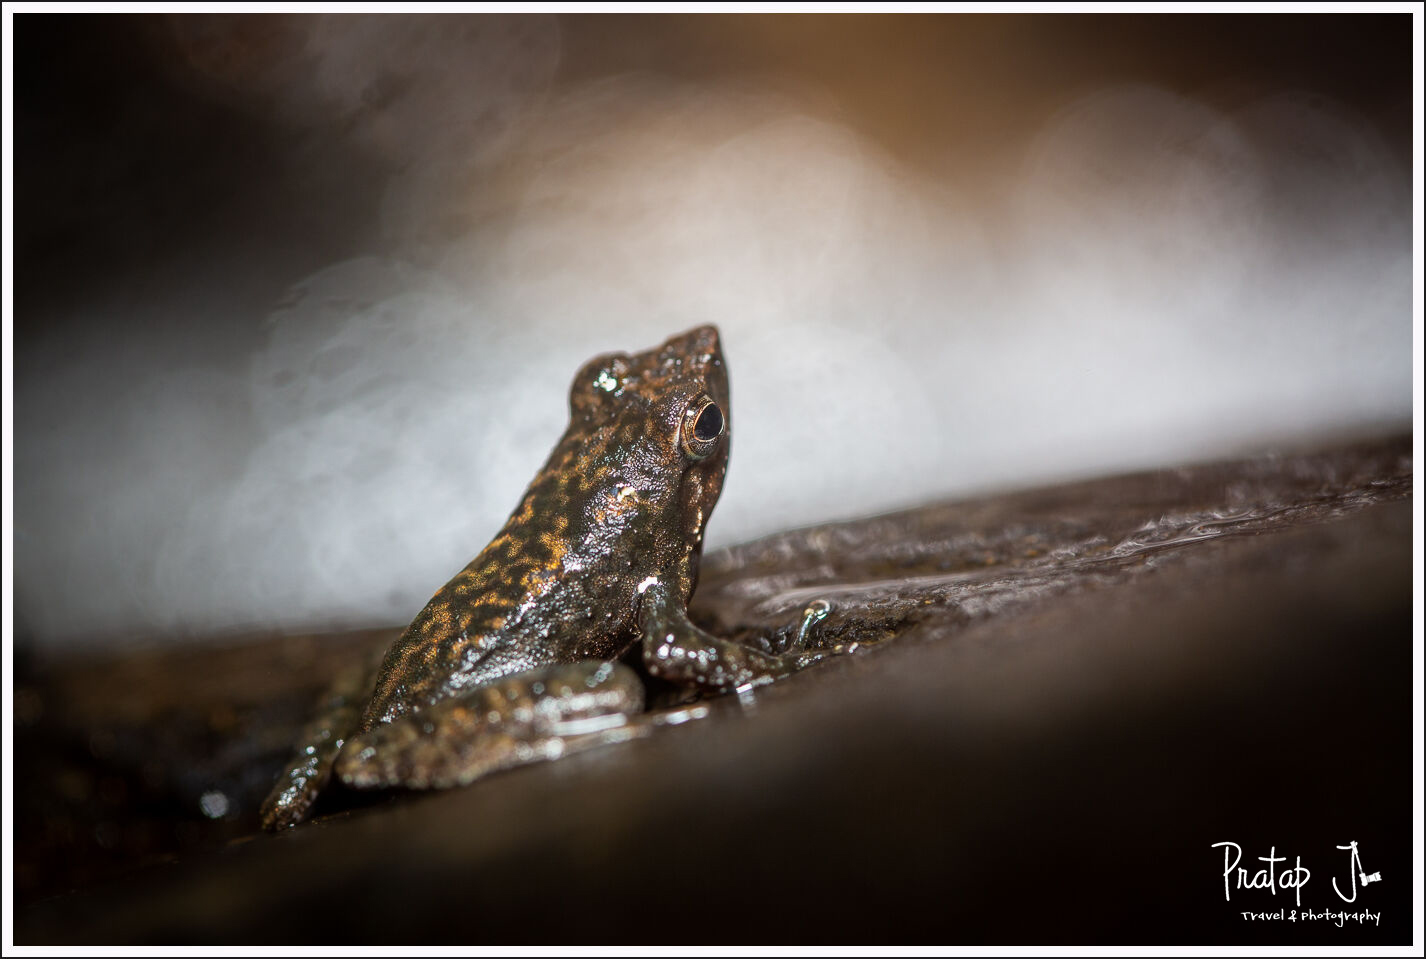
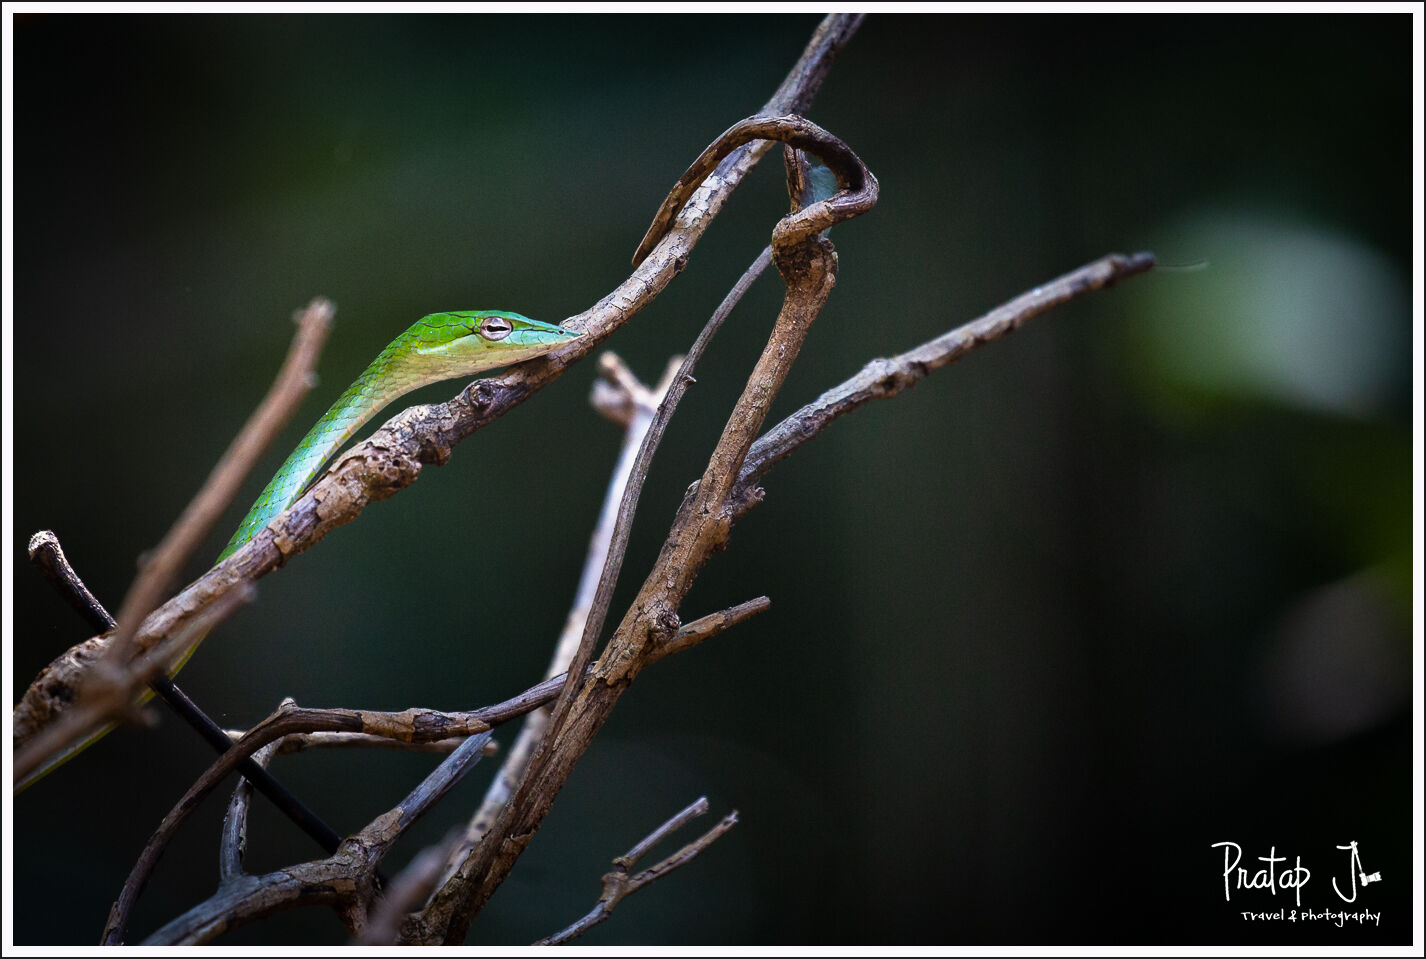
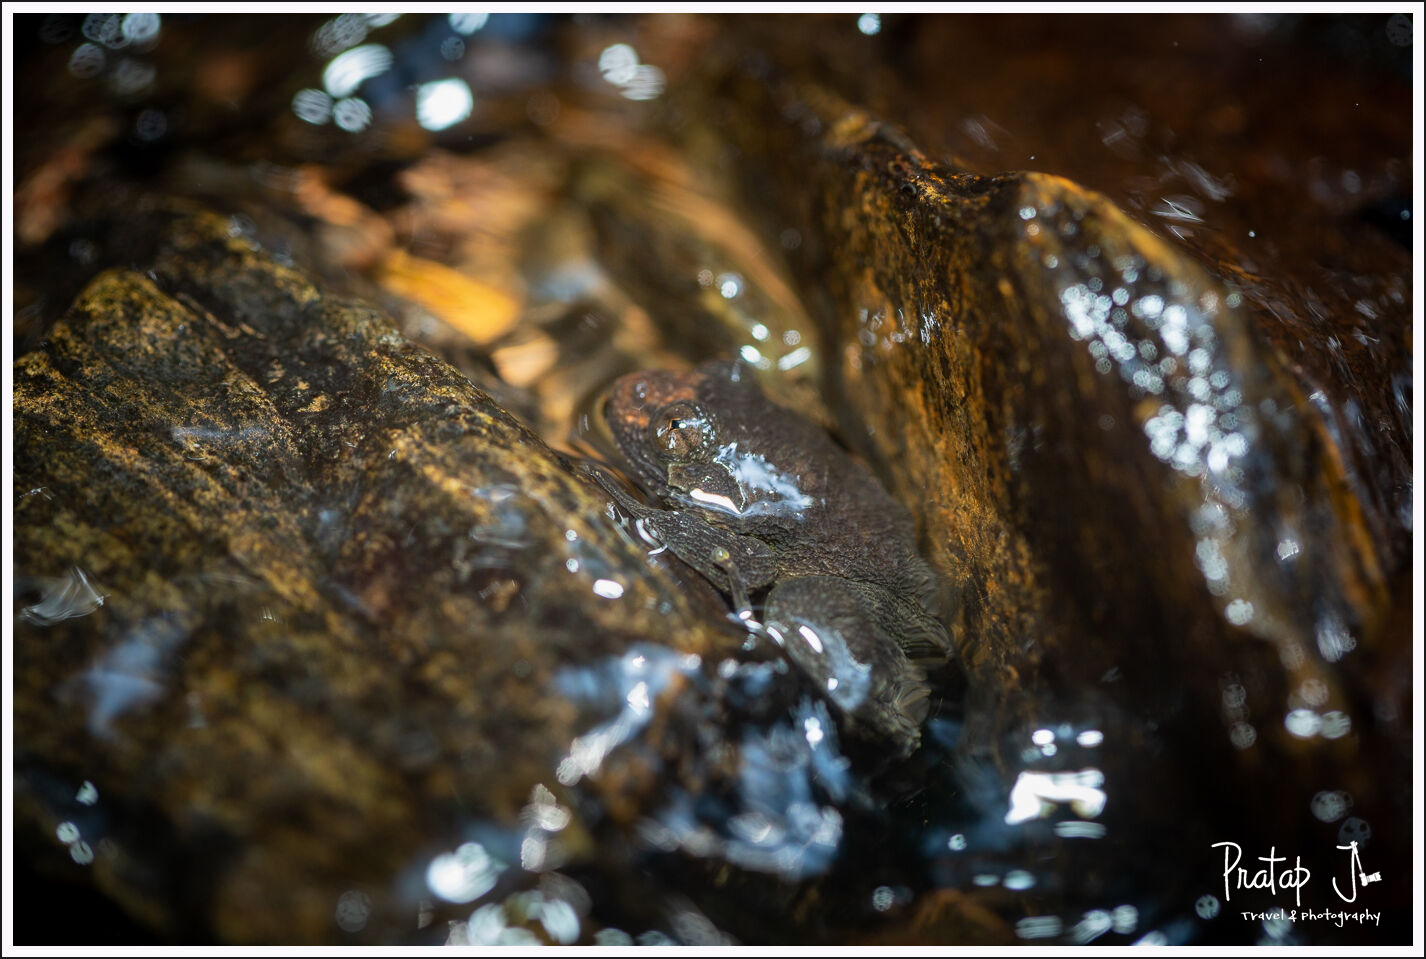
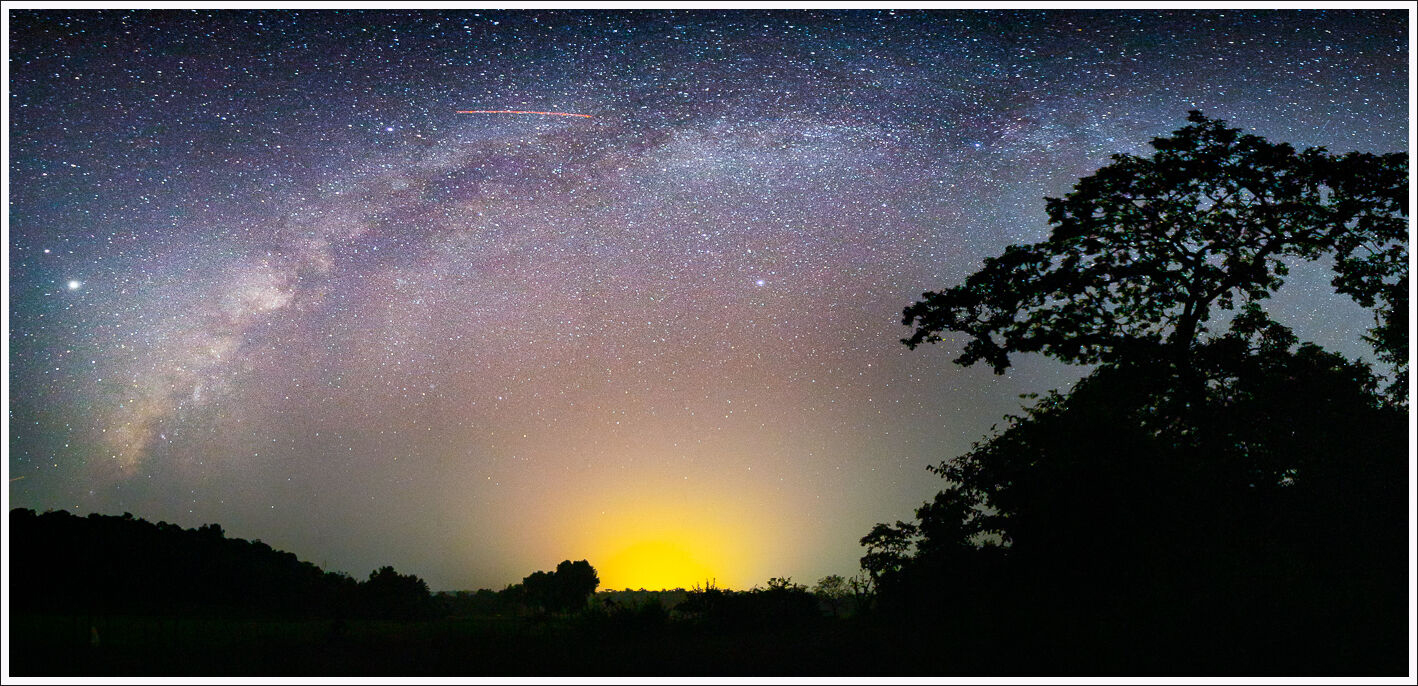
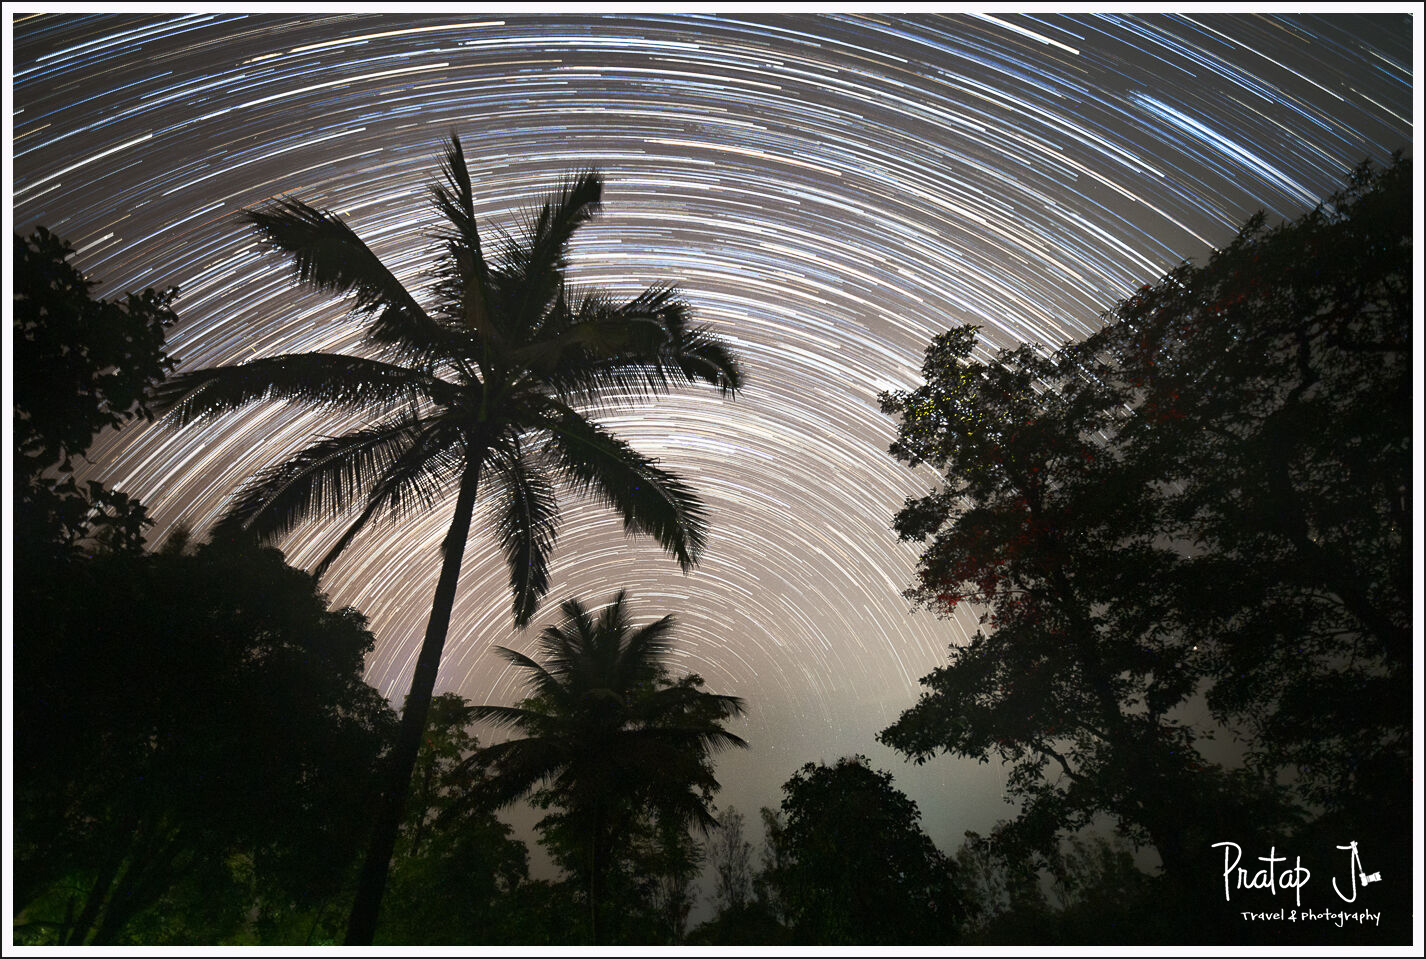
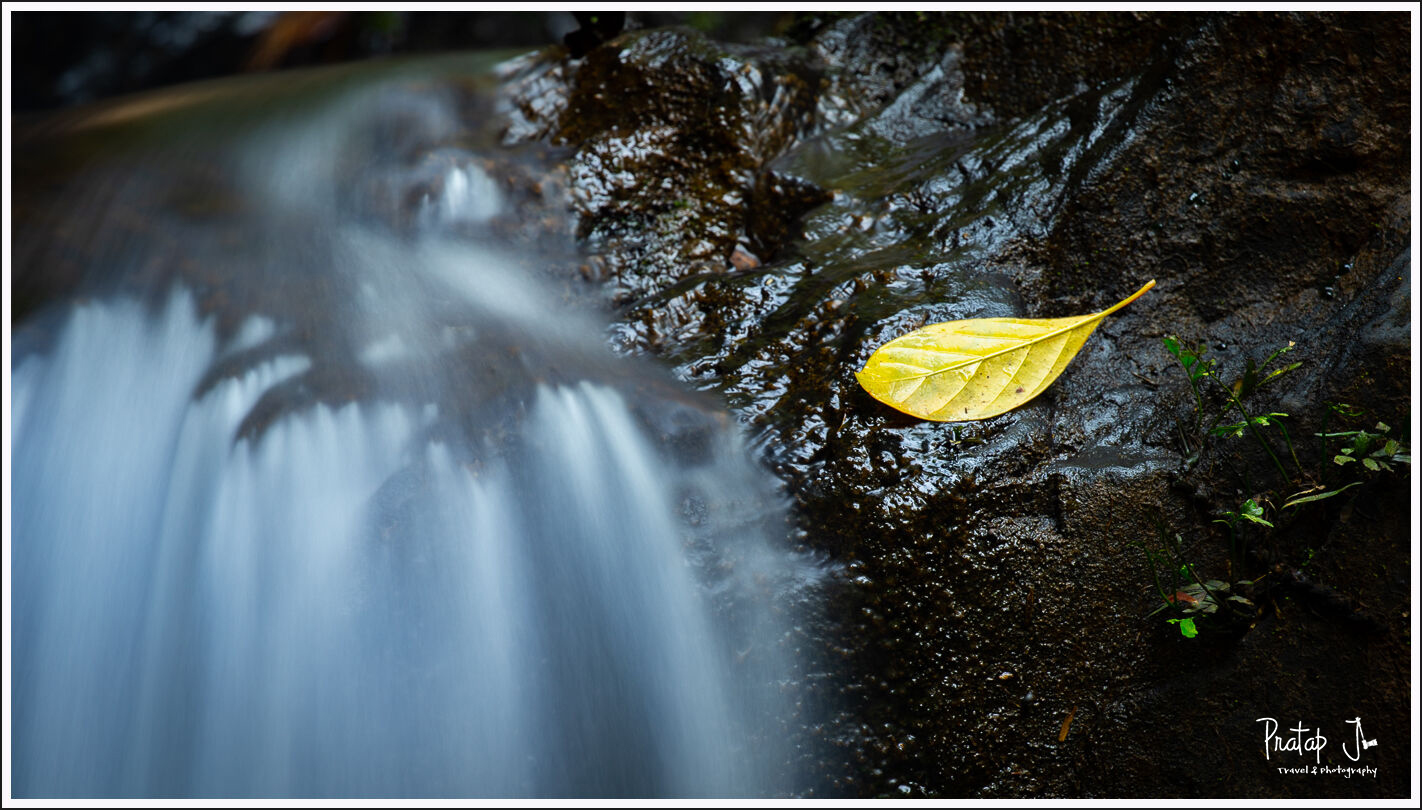
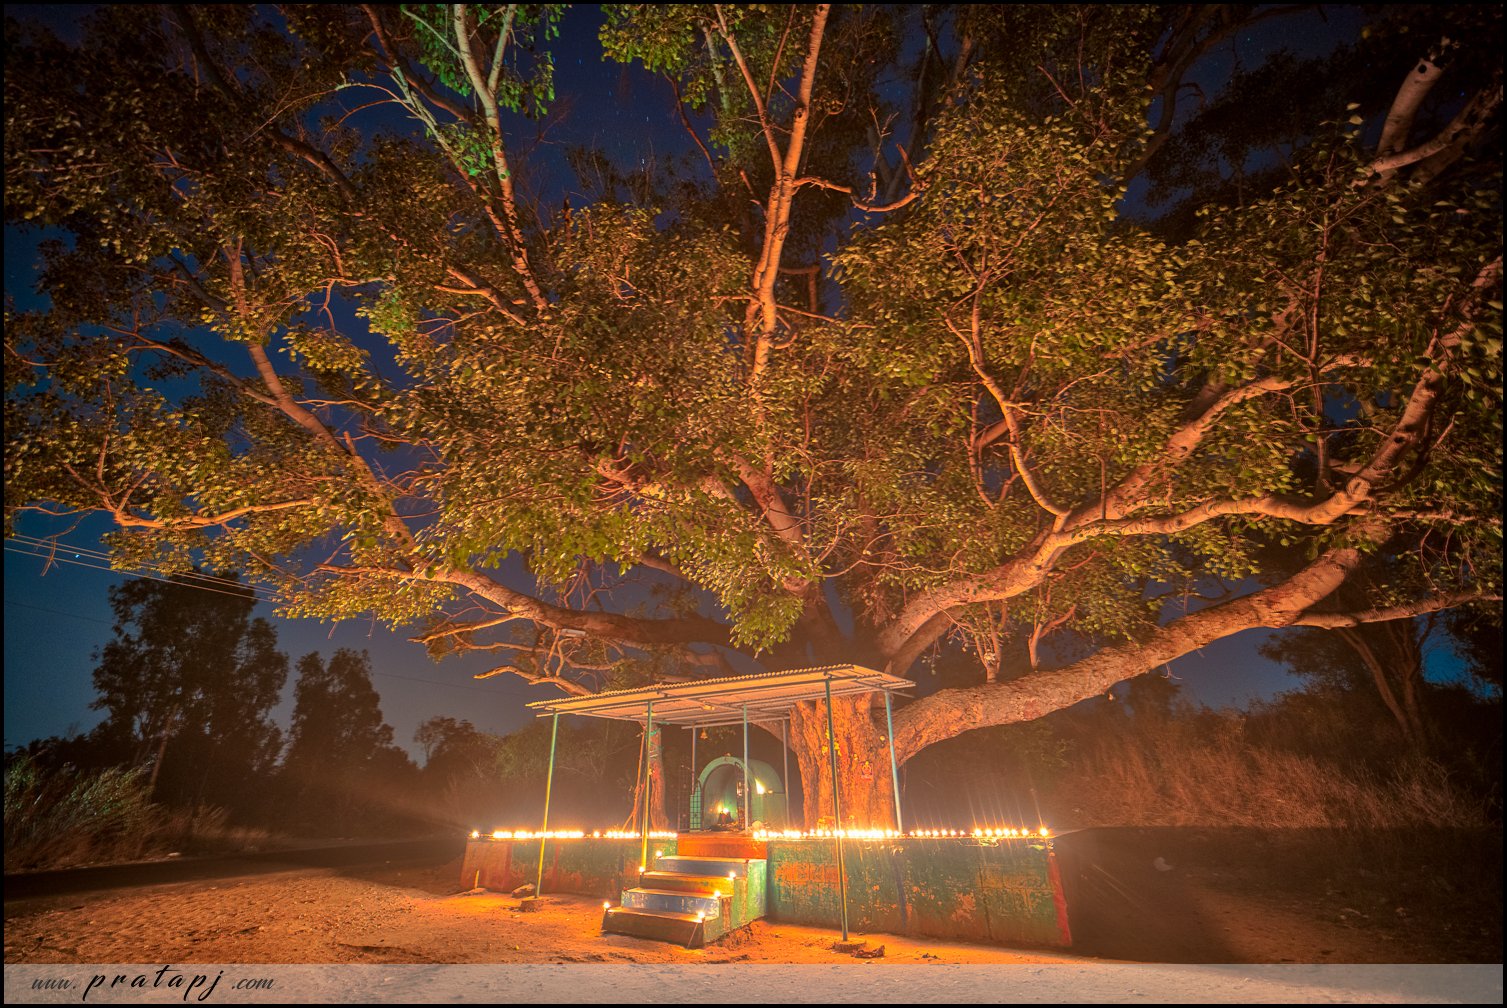
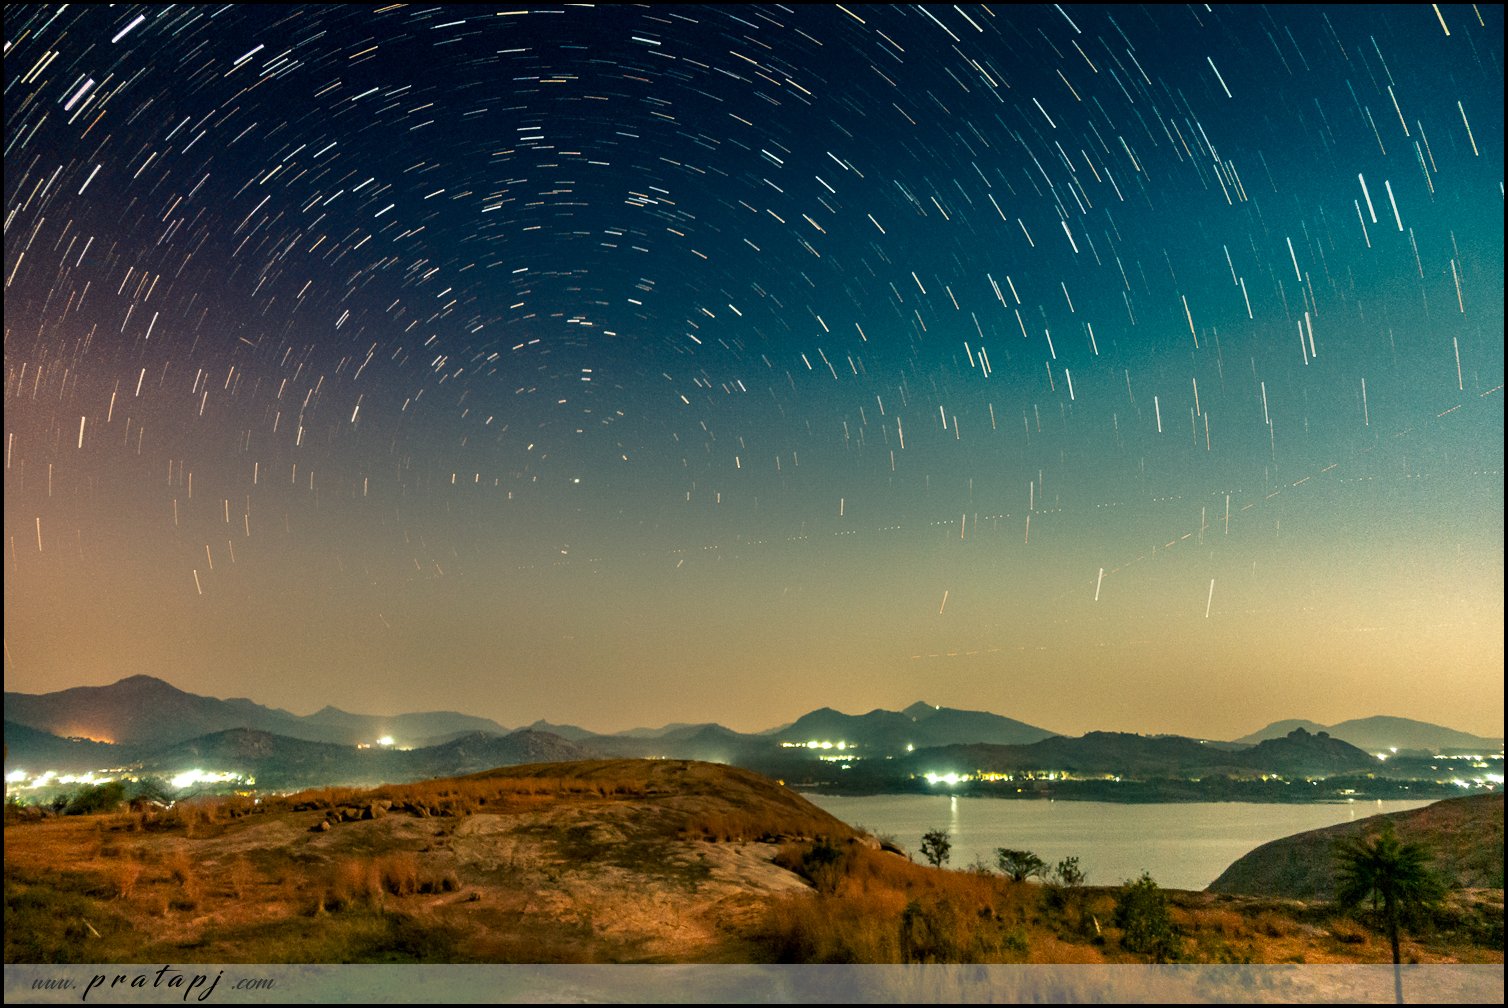
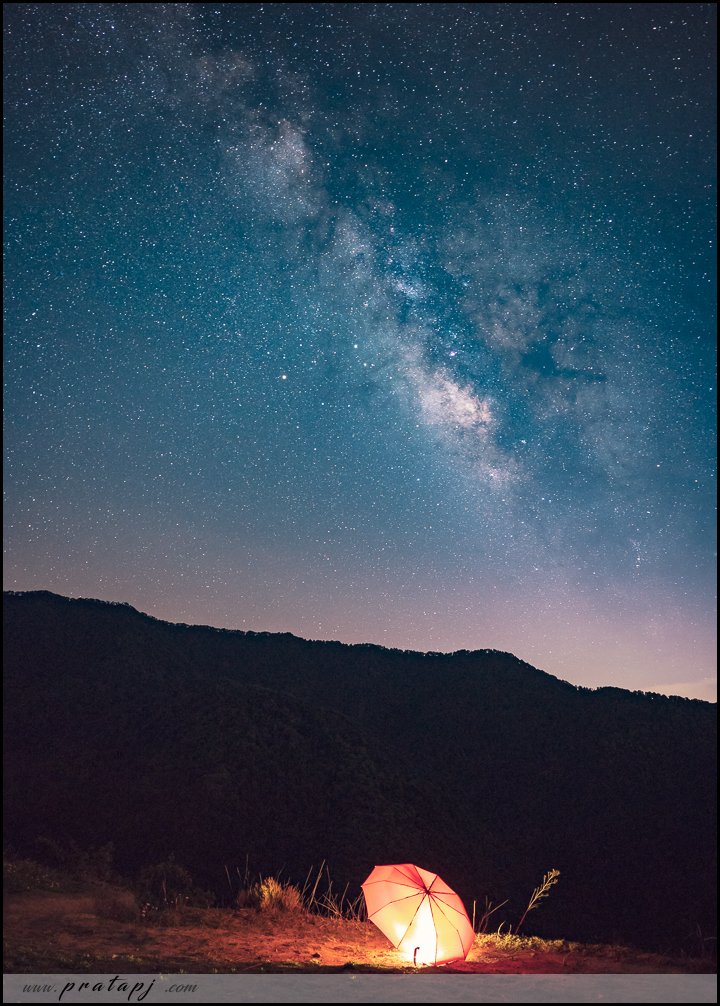
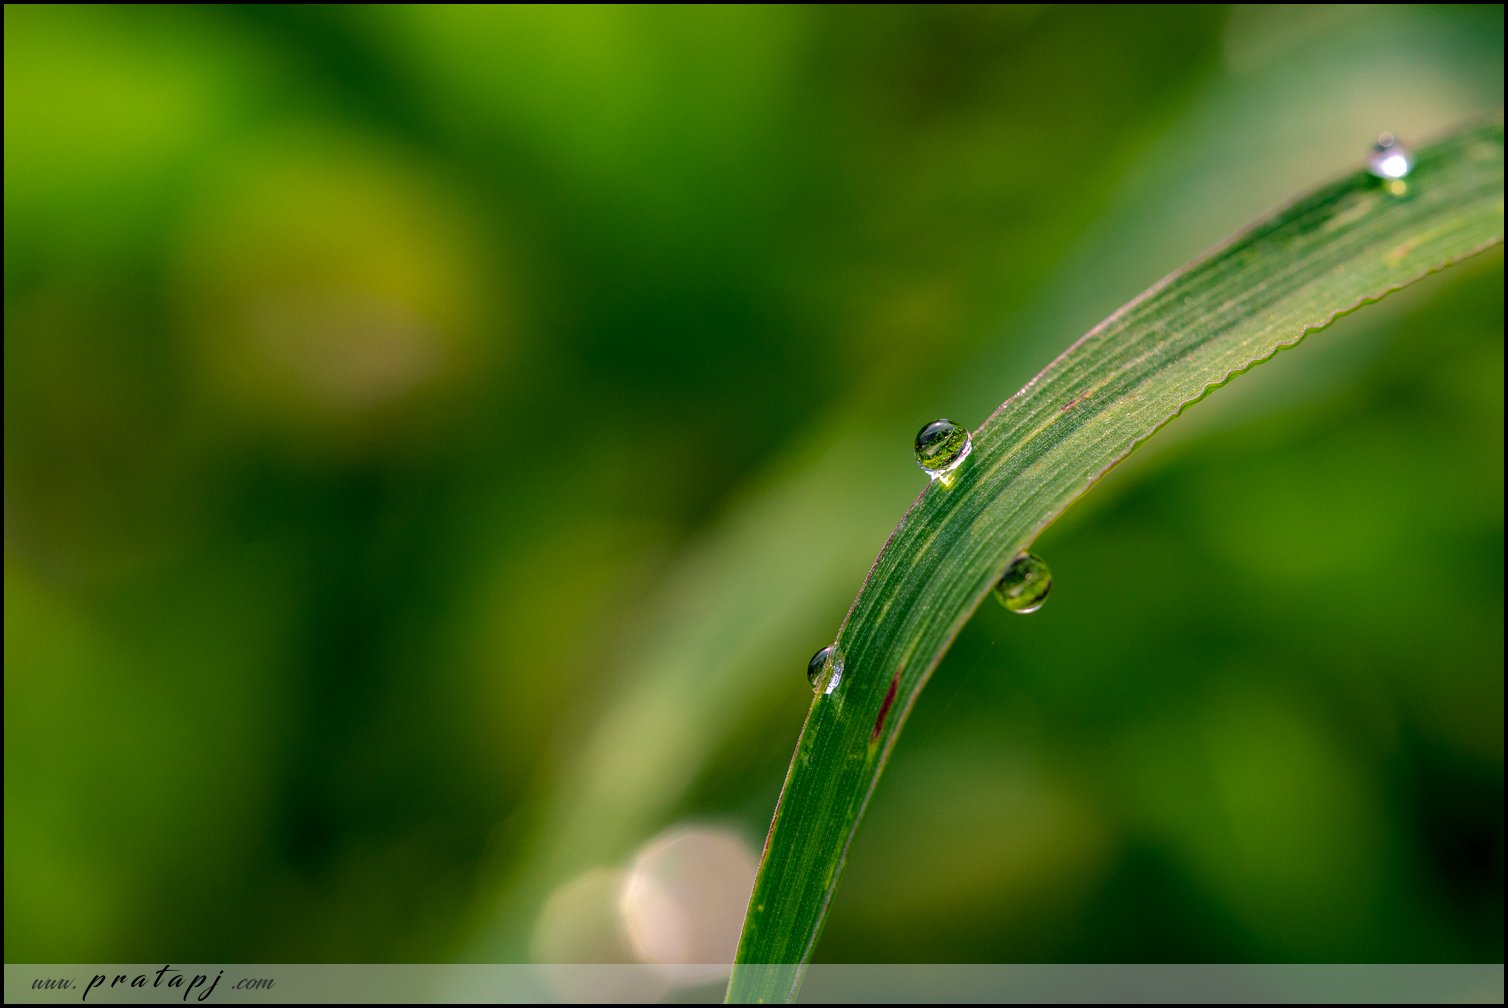
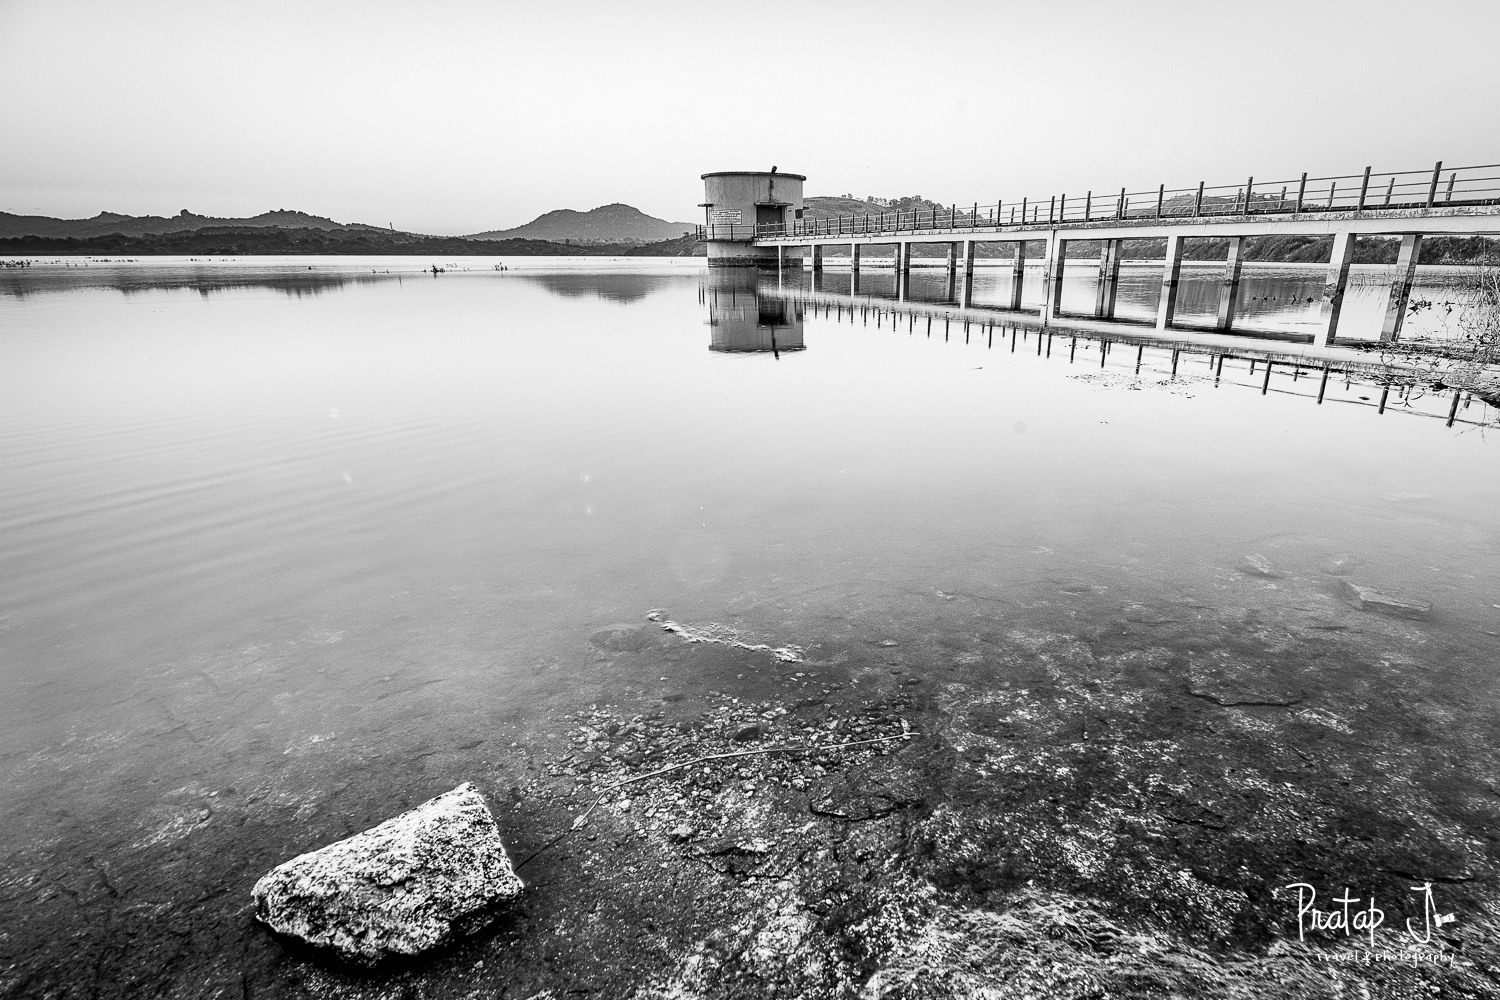
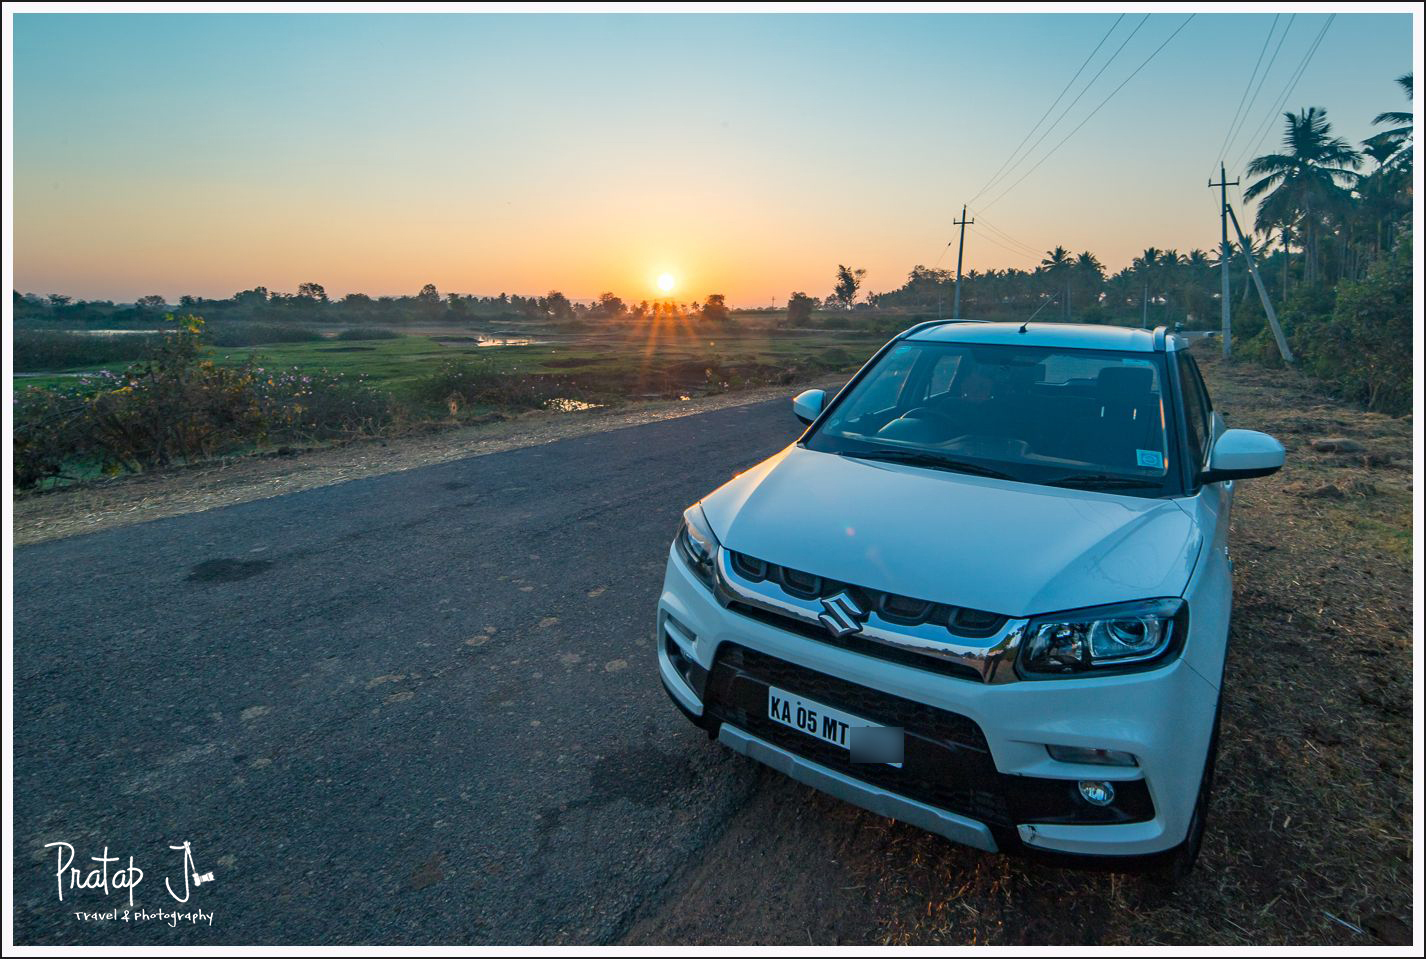
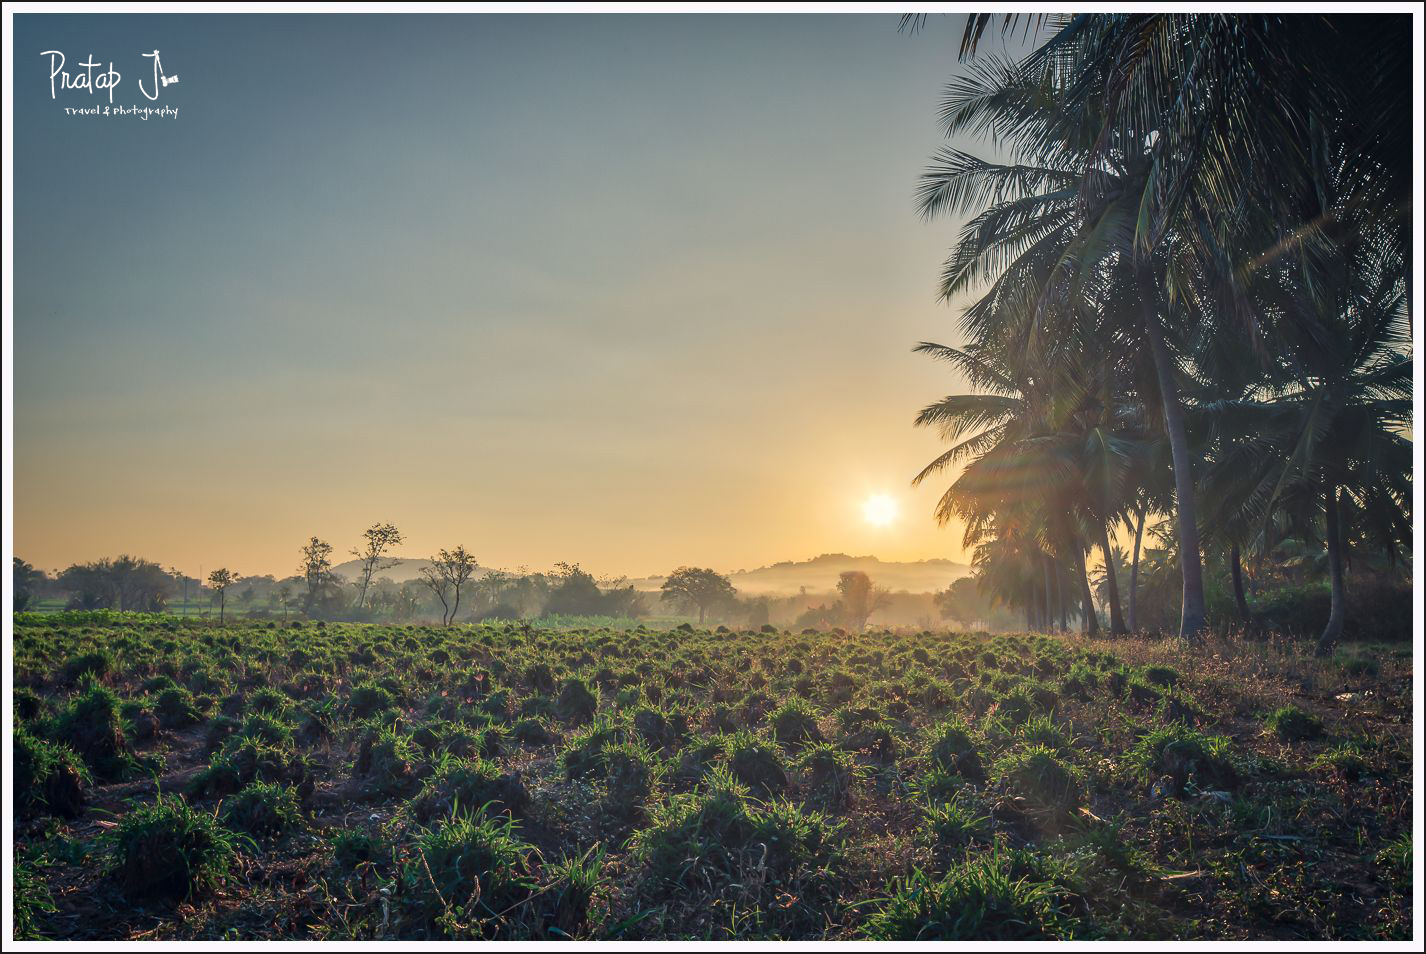
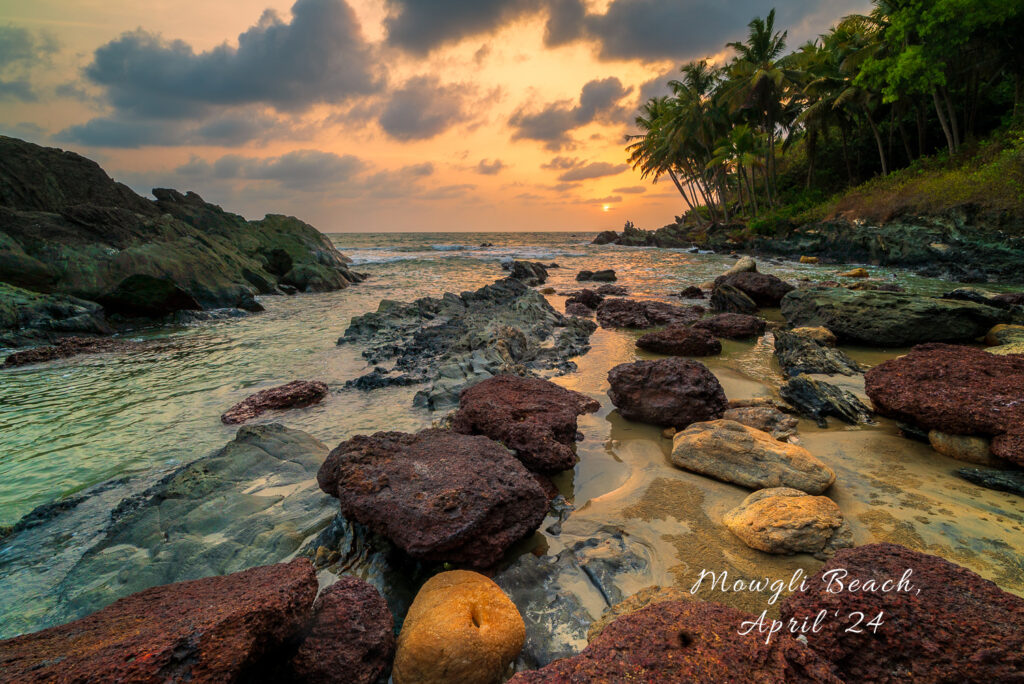
I spent these months in Udupi, knowing my time there was limited. I made the most of every photography opportunity, focusing on Milky Way photography. But the clock was ticking.
As expected, I received an email from my company asking me to return to Bangalore and resume working from the office. The months leading up to this email were filled with immense mental stress. I worried about whether I would still have a job, how I would relocate my cats, and where I would find a place to live. But above these logistical concerns was the sadness of leaving Udupi—a place where I had lived life to the fullest.
April – June:
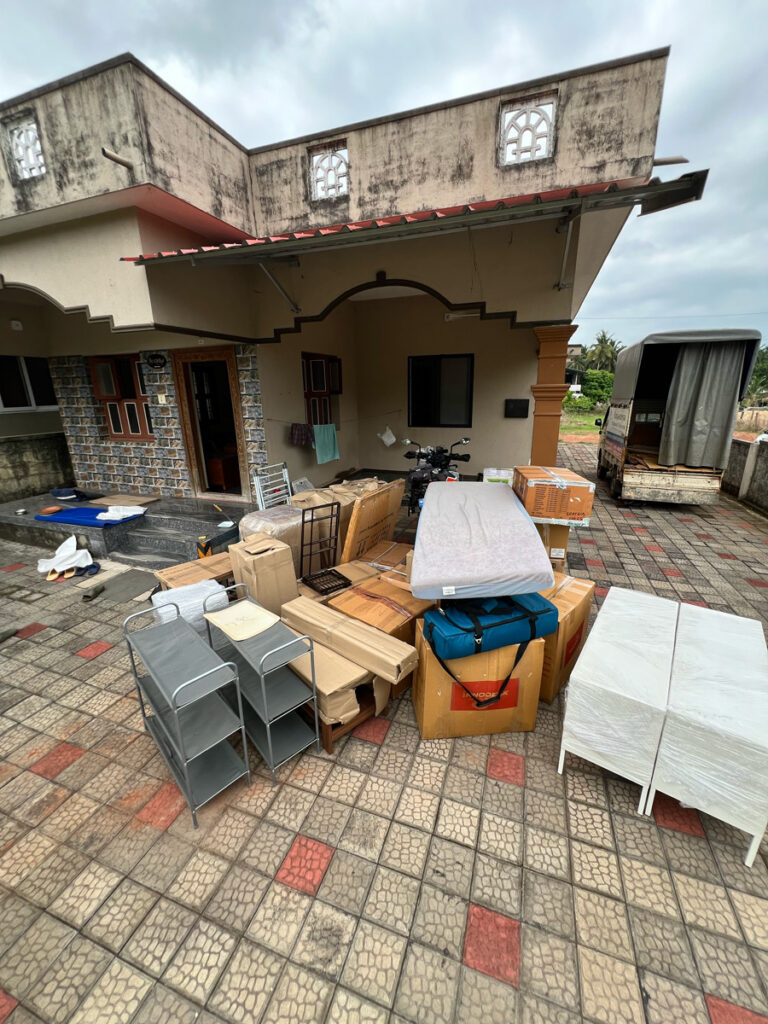
During this period, I searched for and found an apartment in Bangalore. A lot of house owners rejected me because I was single and had 2 cats. It was a wake up call to how society sees individuals who don’t confirm to the norm. Staying in Udupi and looking for a house in a different city was not easy. But I finally found an apartment with nice balconies which were important for my outdoor cats. I had arguments with my house owner in Udupi before vacating, hired movers and packers to shift out, drove my cats to Bangalore, and bid farewell to Udupi.
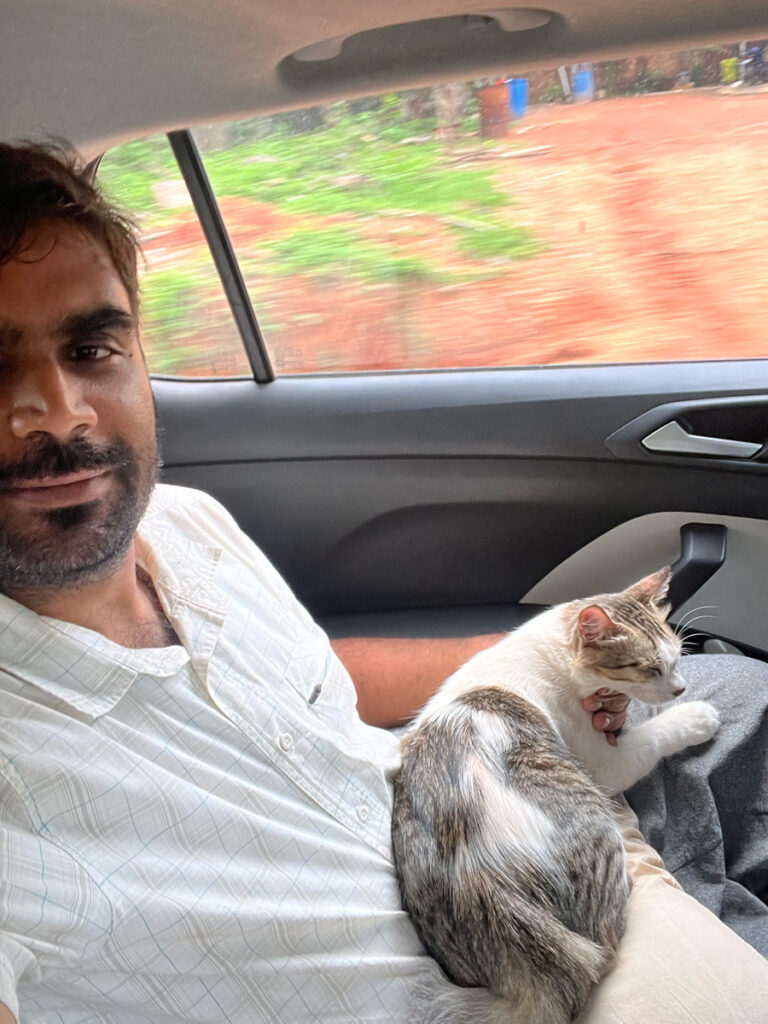
I traveled solo by car with Pepper on May 1st, and exactly a month later with Checkers, but with a driver. I would never again put any cat through the stress of a solo journey.

Mentally, this period was a challenging time. I had to make big decisions, coordinate with multiple people, and handle all the logistics of moving cities on my own (with some help from a few friends—I won’t miss acknowledging that). My health wasn’t great either, but I was too preoccupied to pay attention. I struggled with daytime fatigue, brain fog, and poor gut health. Still, I pushed through to meet my company’s relocation timeline.
June – August:
Adjusting to my new life took time. I had my own apartment, but Checkers (one of my cats) struggled to adapt to city life, which made me feel terrible. Initially, I was busy setting up the apartment. Then, I focused on helping Checkers adjust, but his constant stomach issues and signs of stress weighed on me.
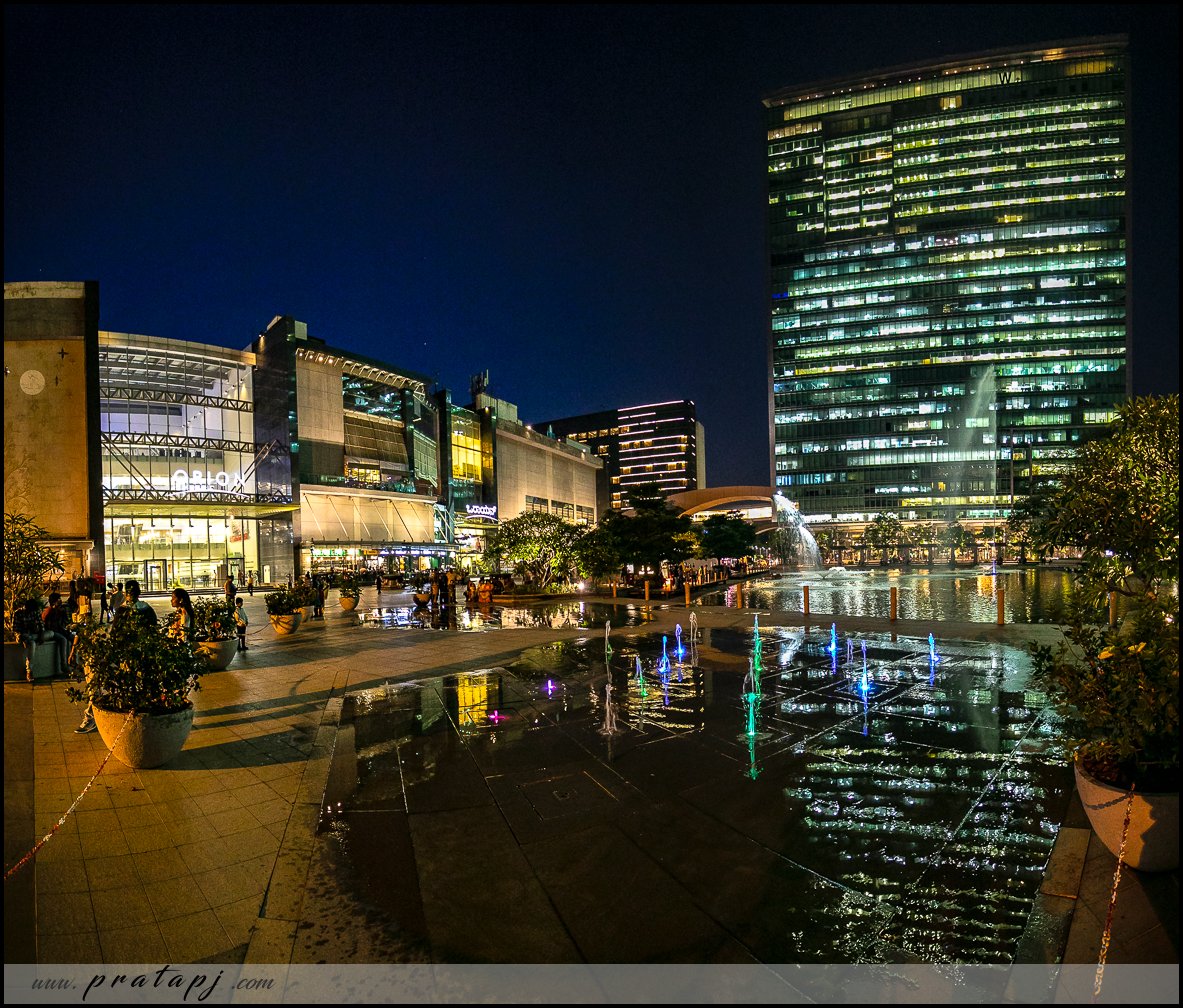
The relentless Bangalore traffic was another hurdle. This situation will not get better, at least in my lifetime. It is a symptom of a larger malaise in the country – and Indians are only playing Ostrich to this. Maybe I see the future differently from others, but what I see scares me. There is no Indian city which offers any decent standard of living. And this is one of the many reasons why I have avoided buying an apartment for myself.
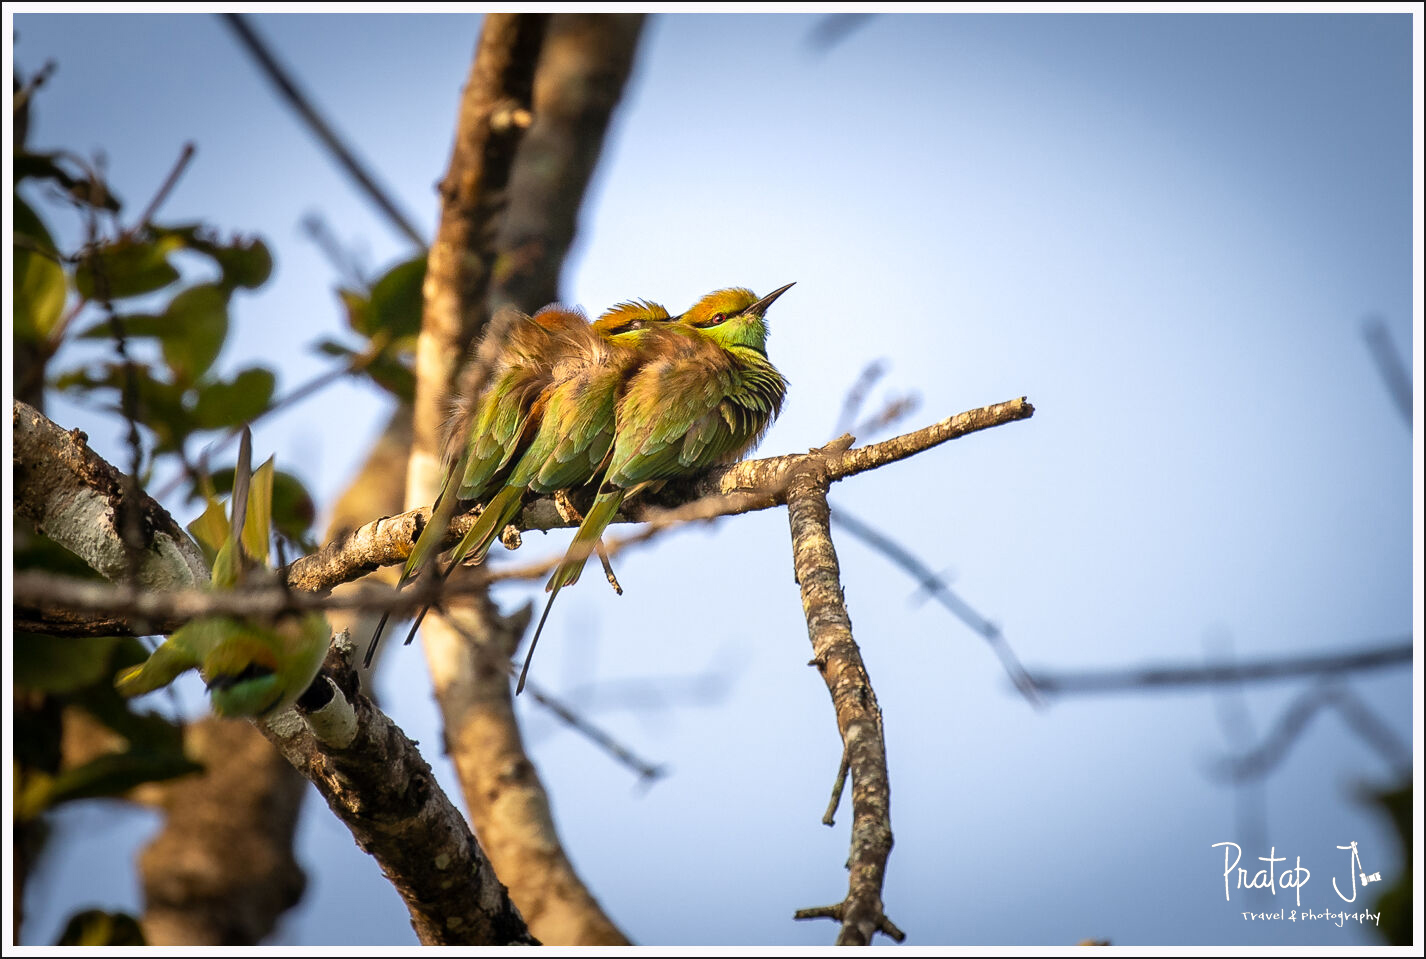
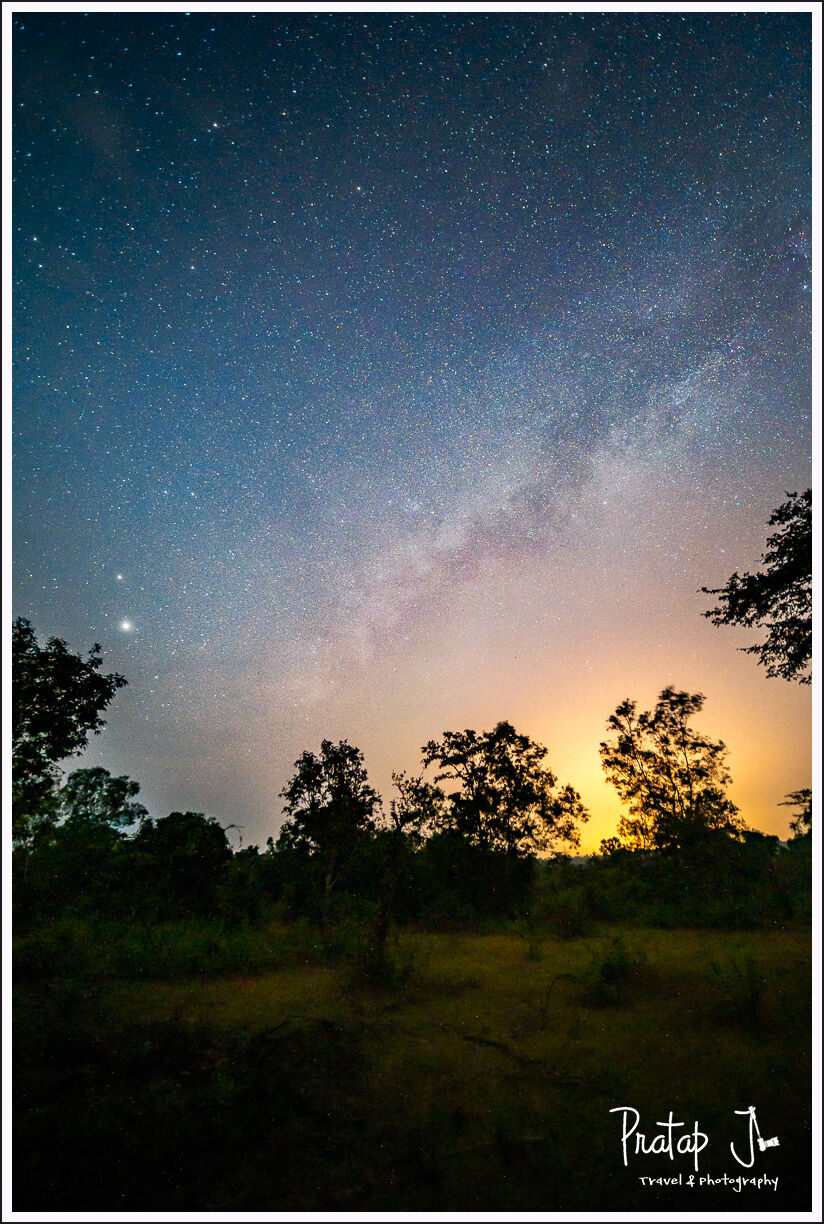
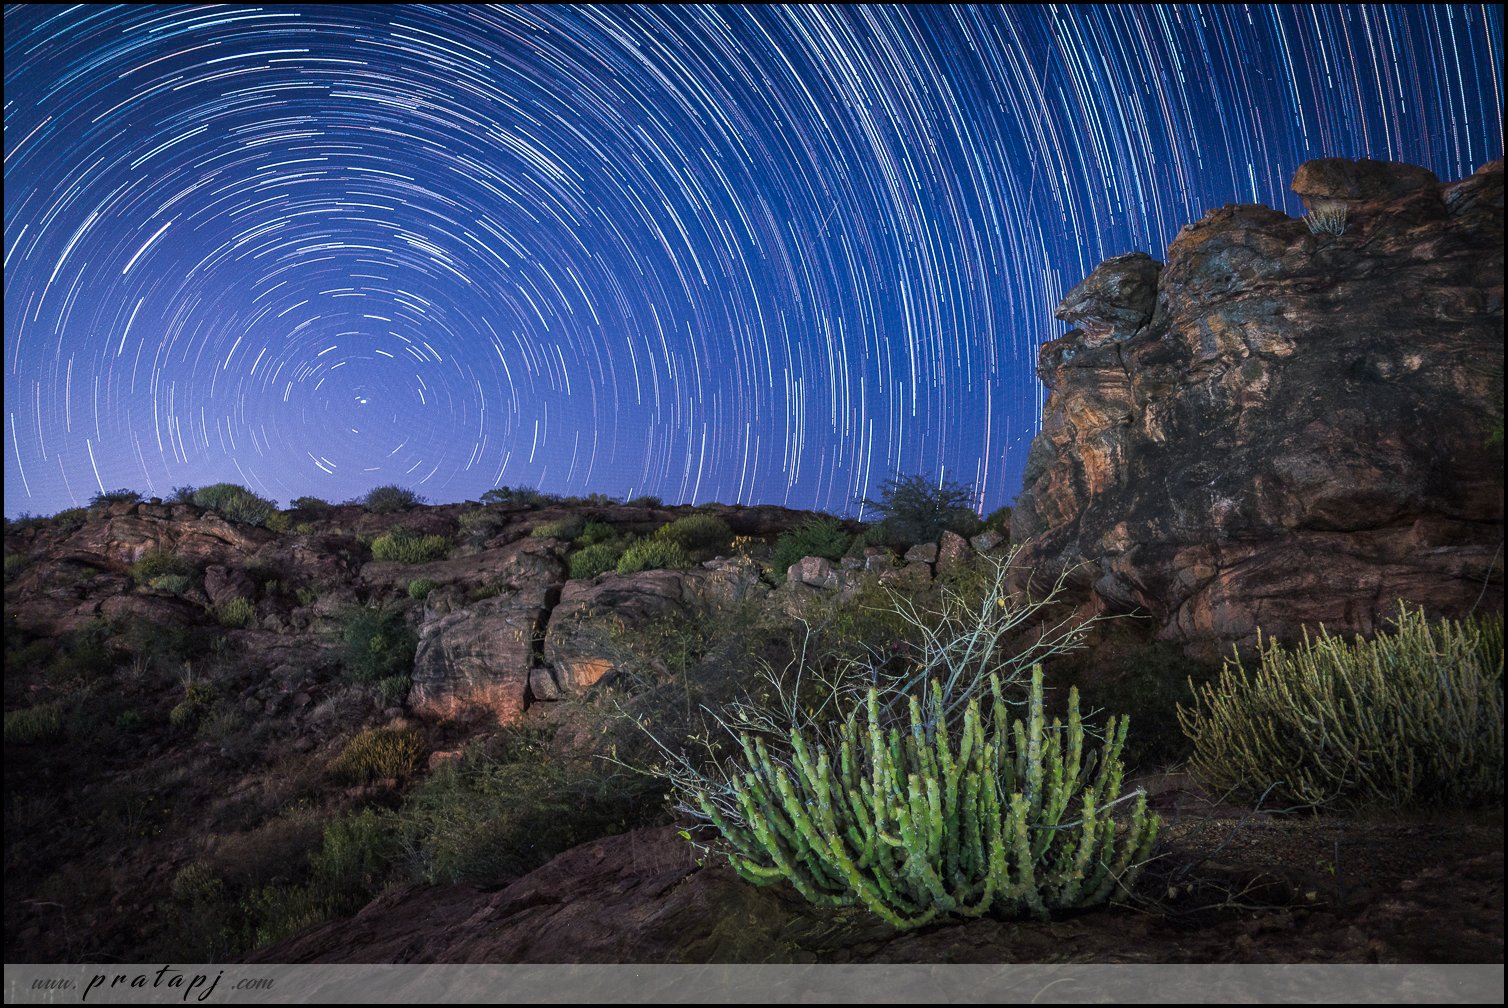
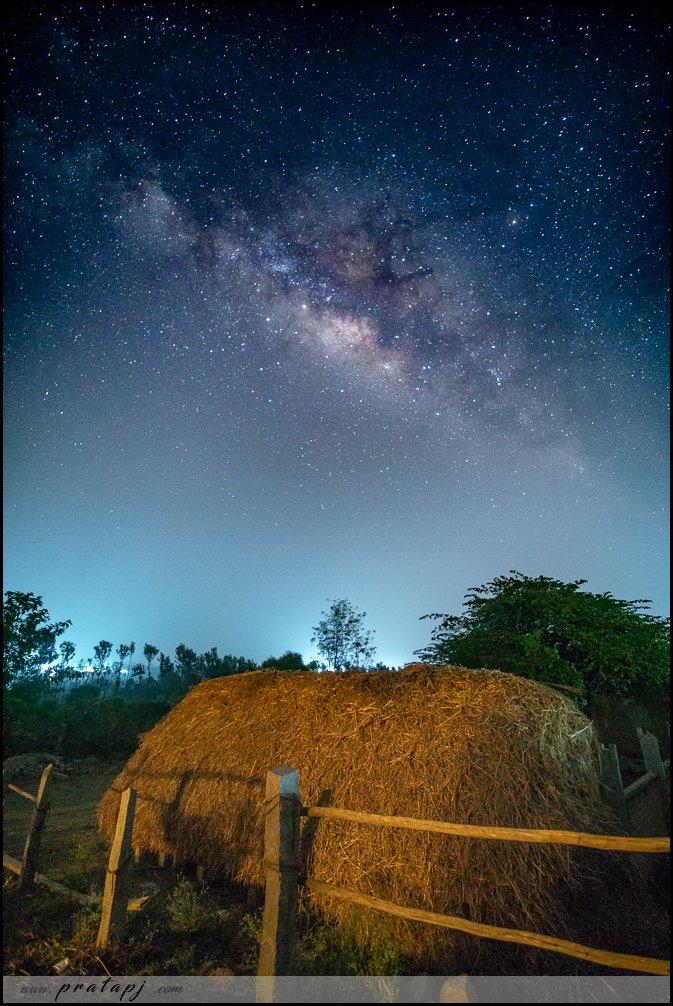
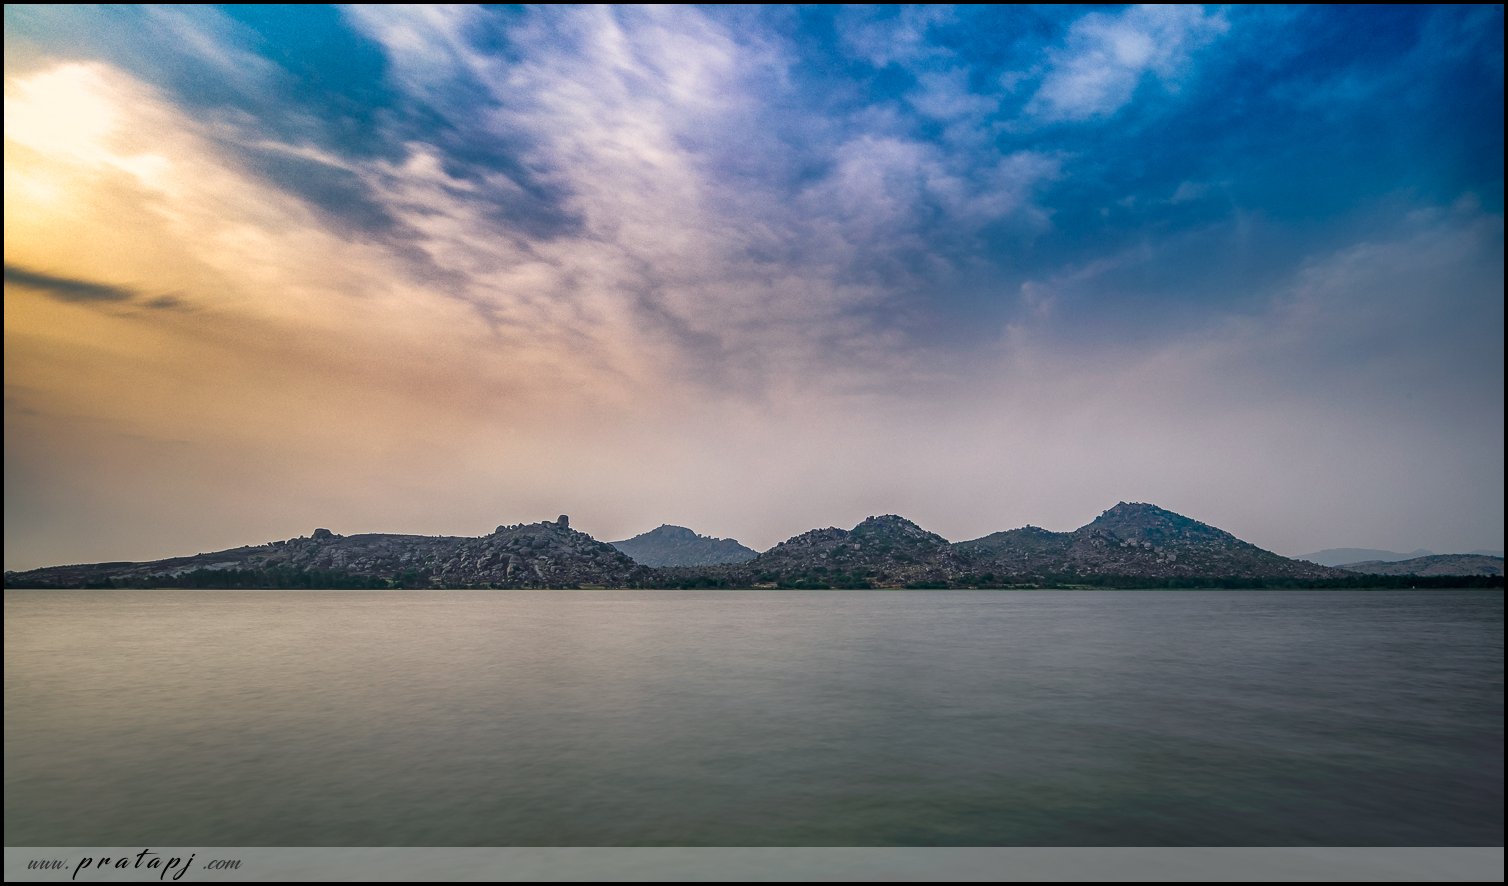
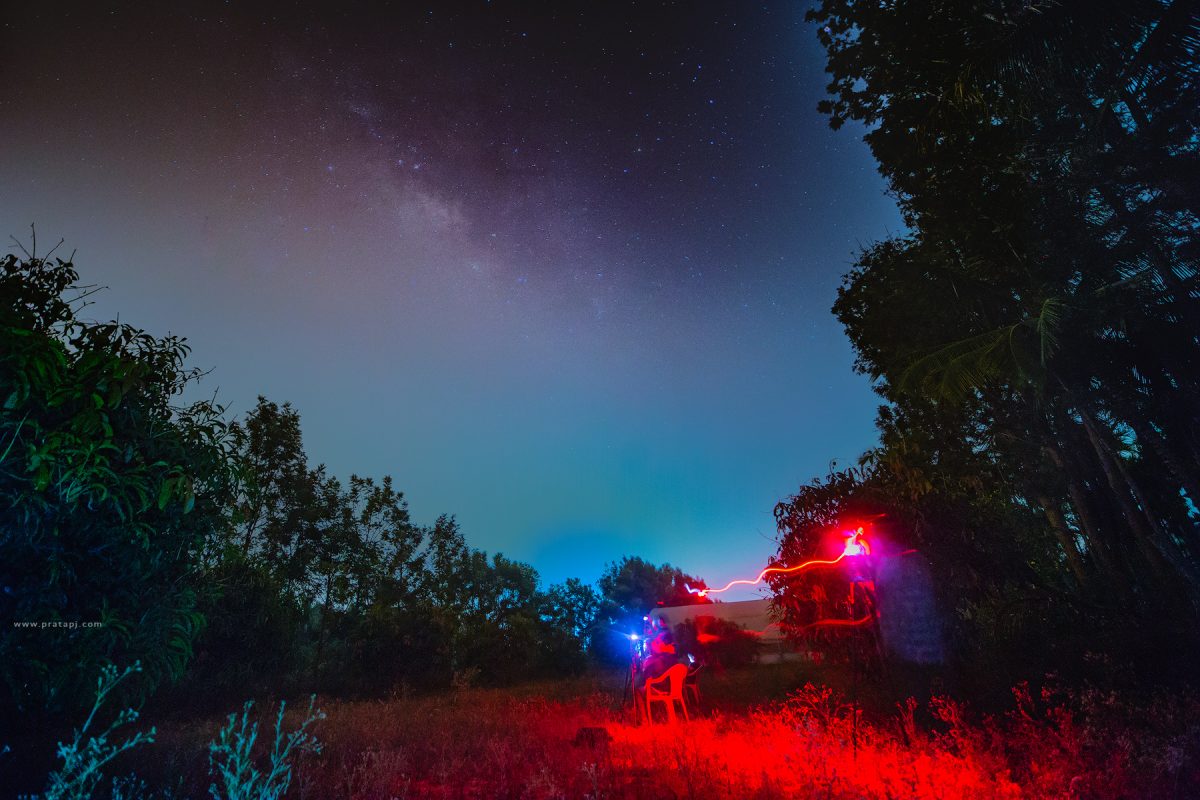
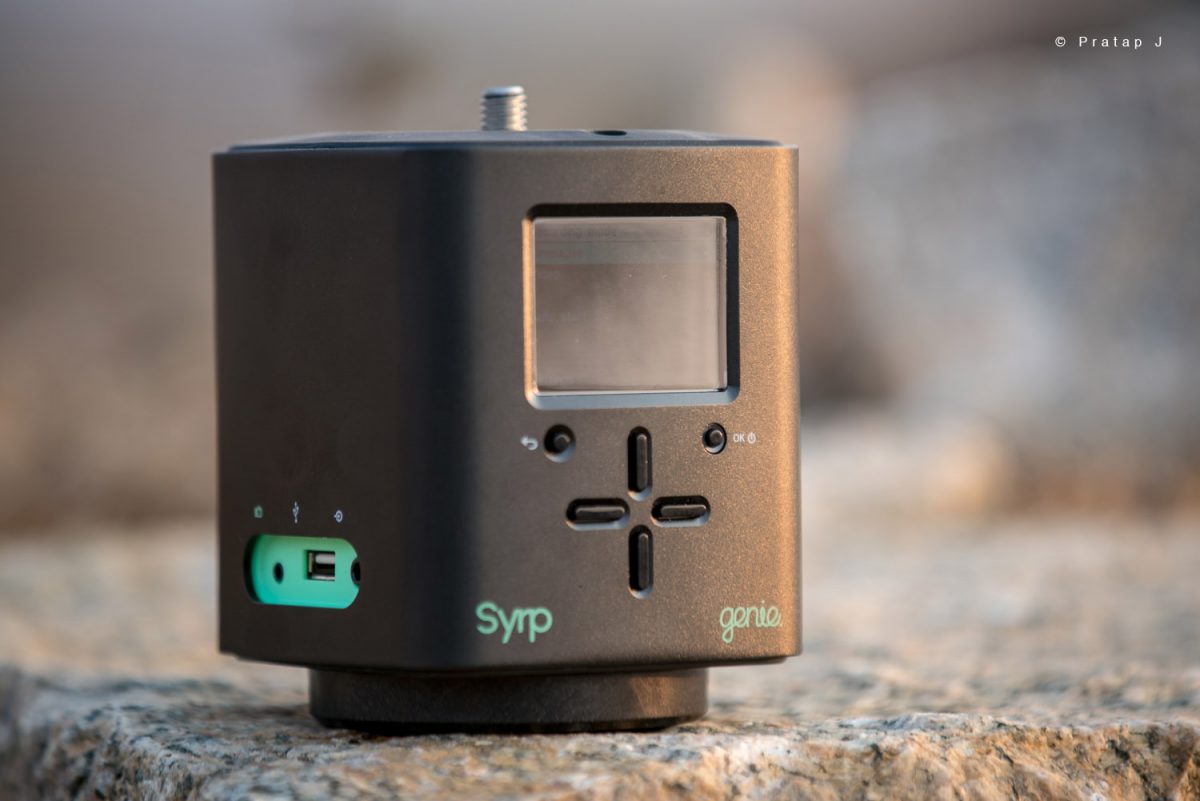
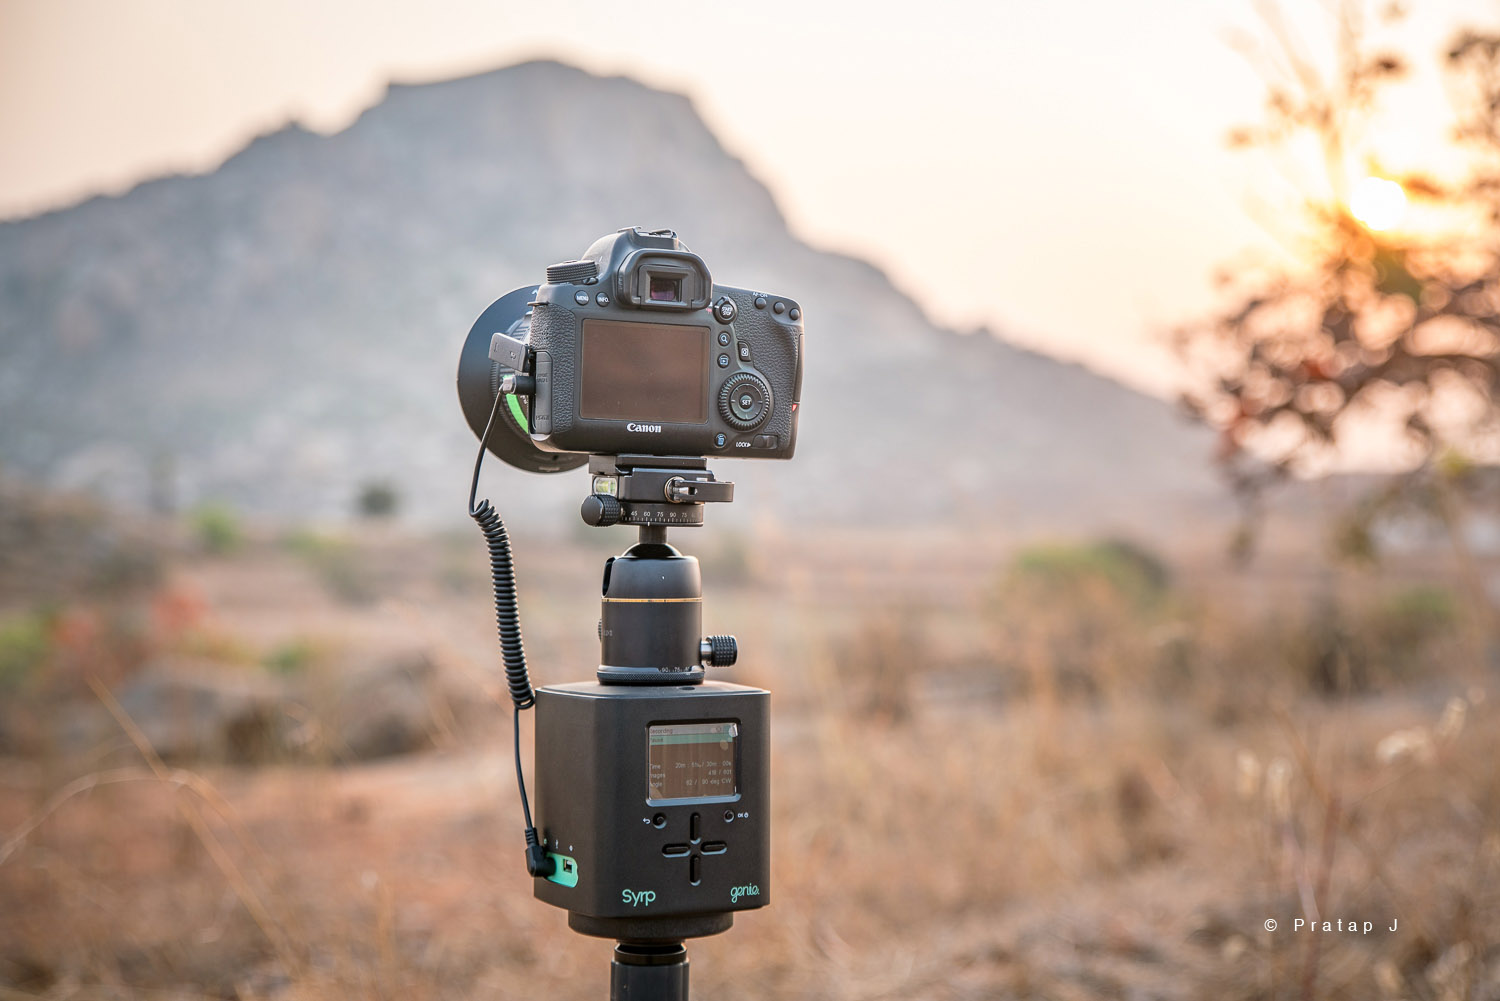
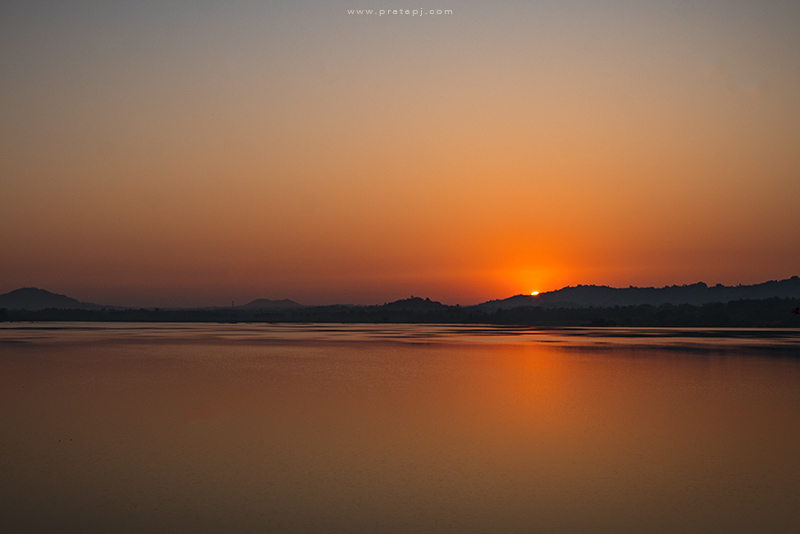
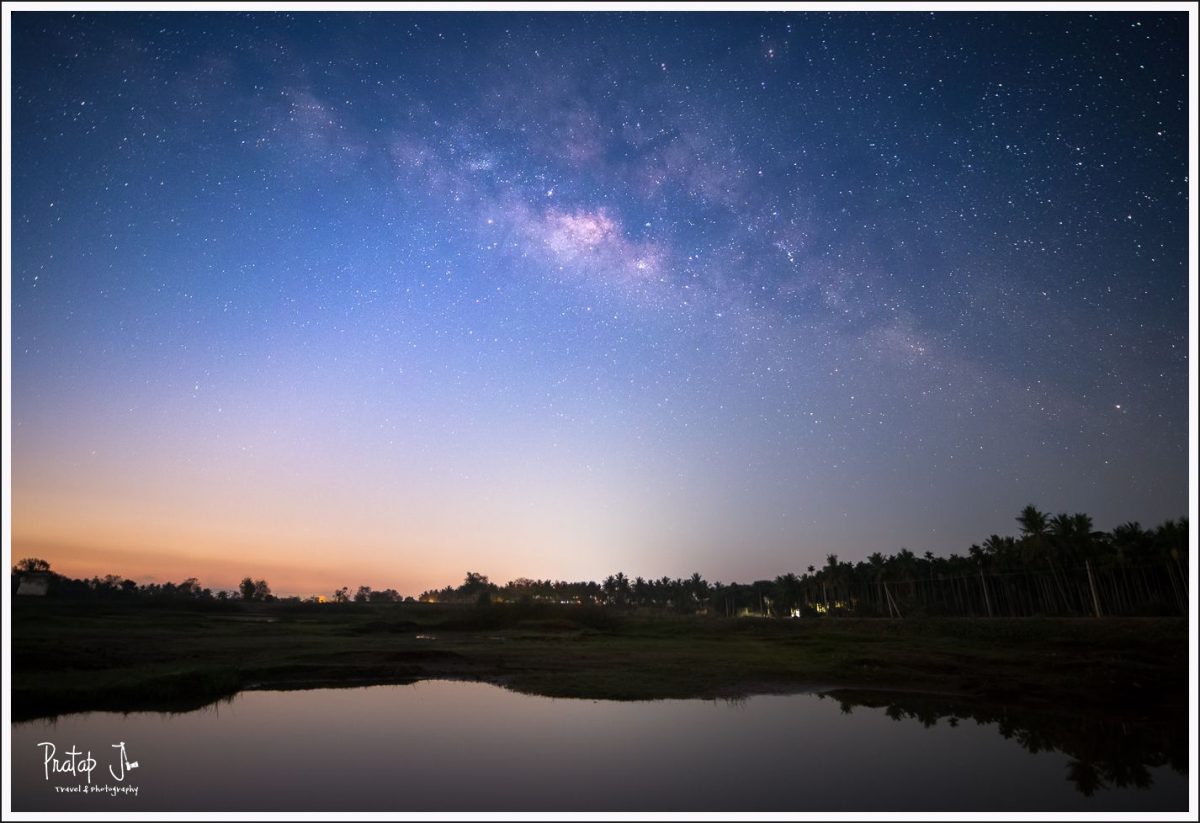
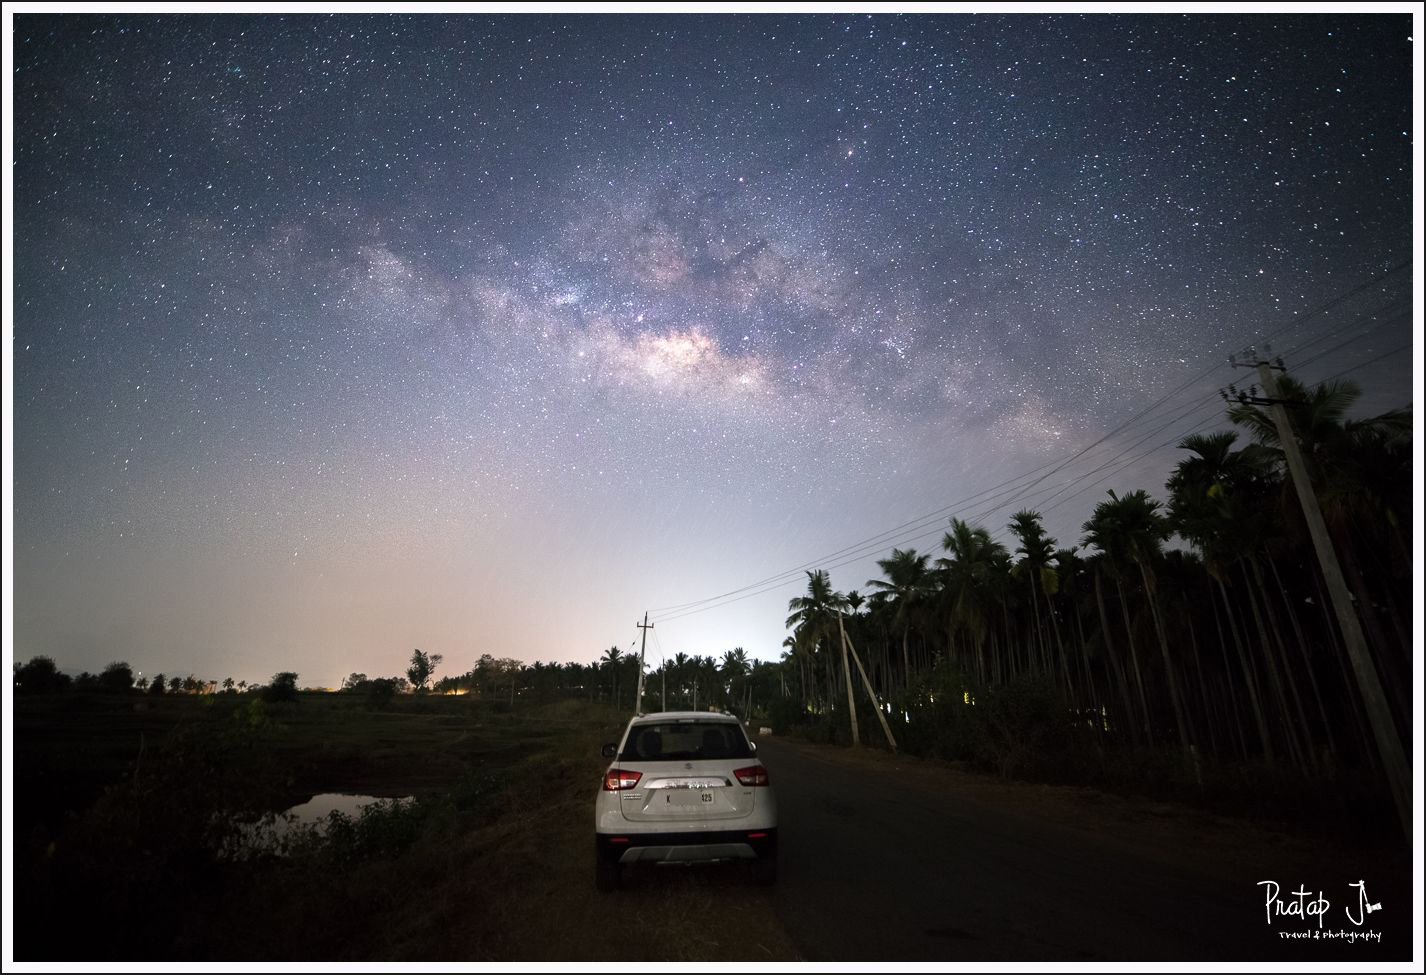
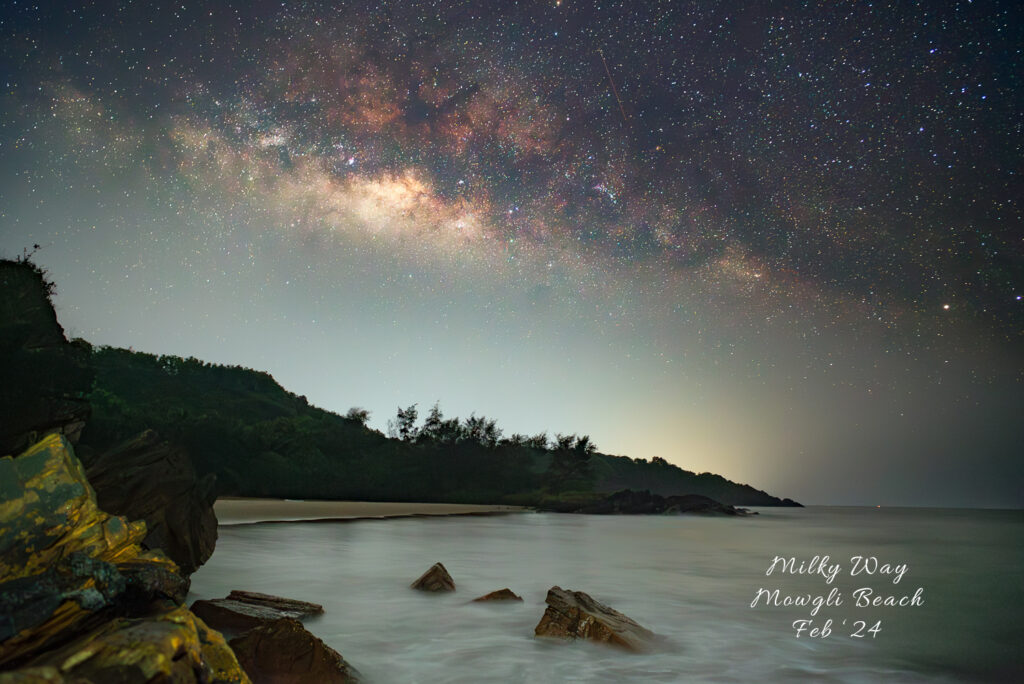
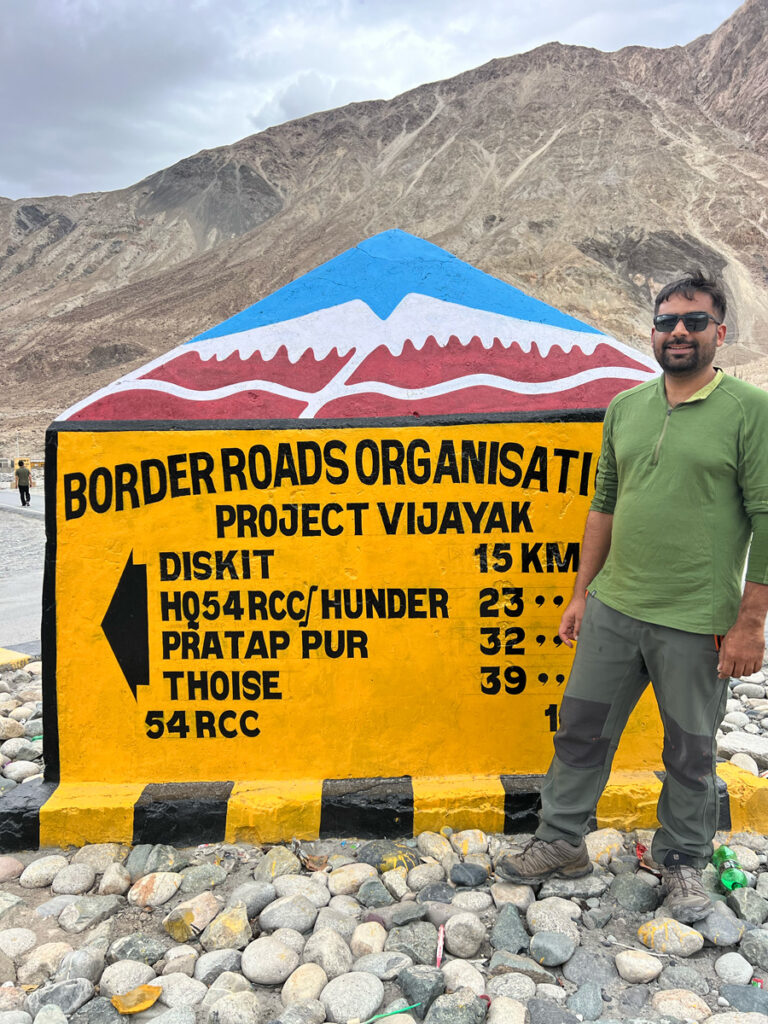
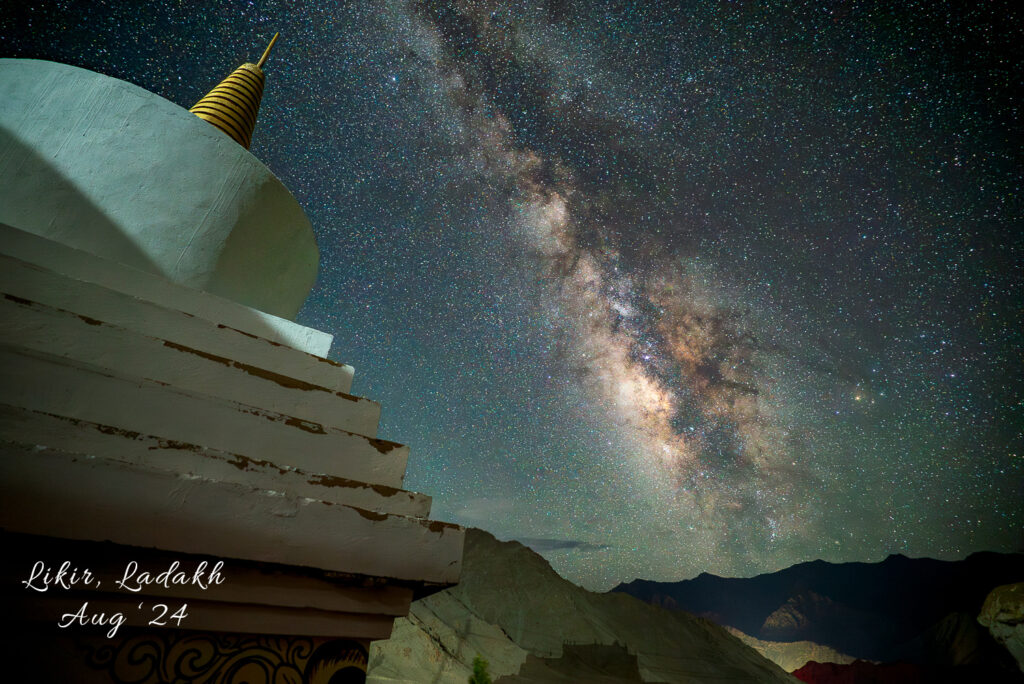
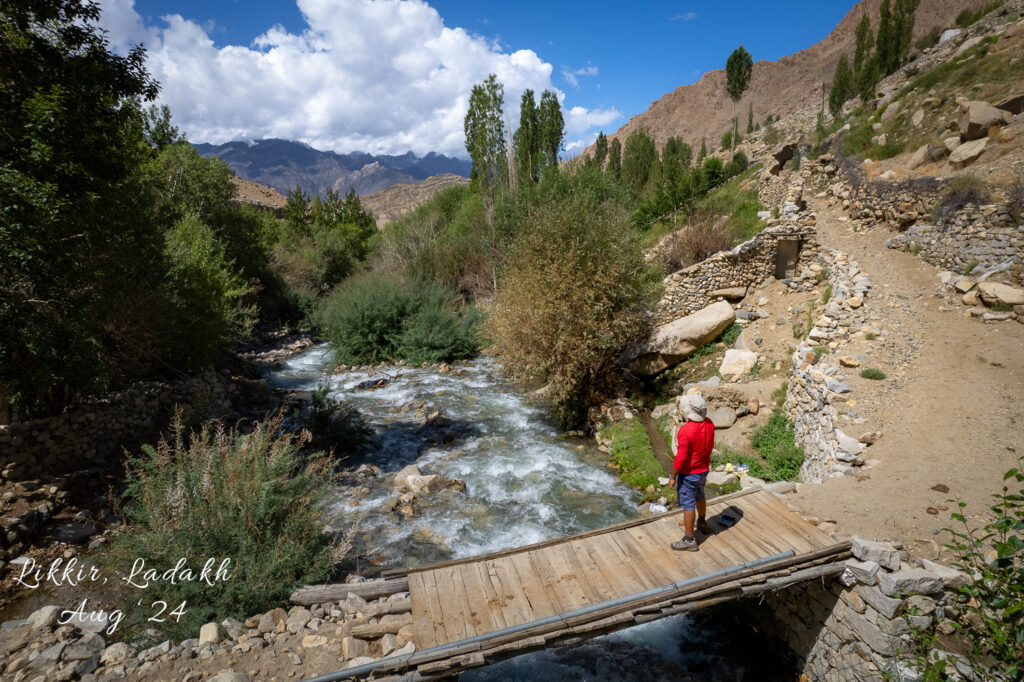
In August, I took a short break and traveled to Ladakh. By then, I felt disconnected from photography and went with minimal expectations. But during the trip, I had multiple opportunities to capture the Milky Way, which reminded me that my passion for photography was still alive, even if I no longer felt like wearing the “photographer” hat.
September – October:
My health worsened. The symptoms, which had started in Udupi, became more intense. I couldn’t think clearly and felt like I was in a constant funk. Desperate for change, I signed up for a three-month nutrition program.
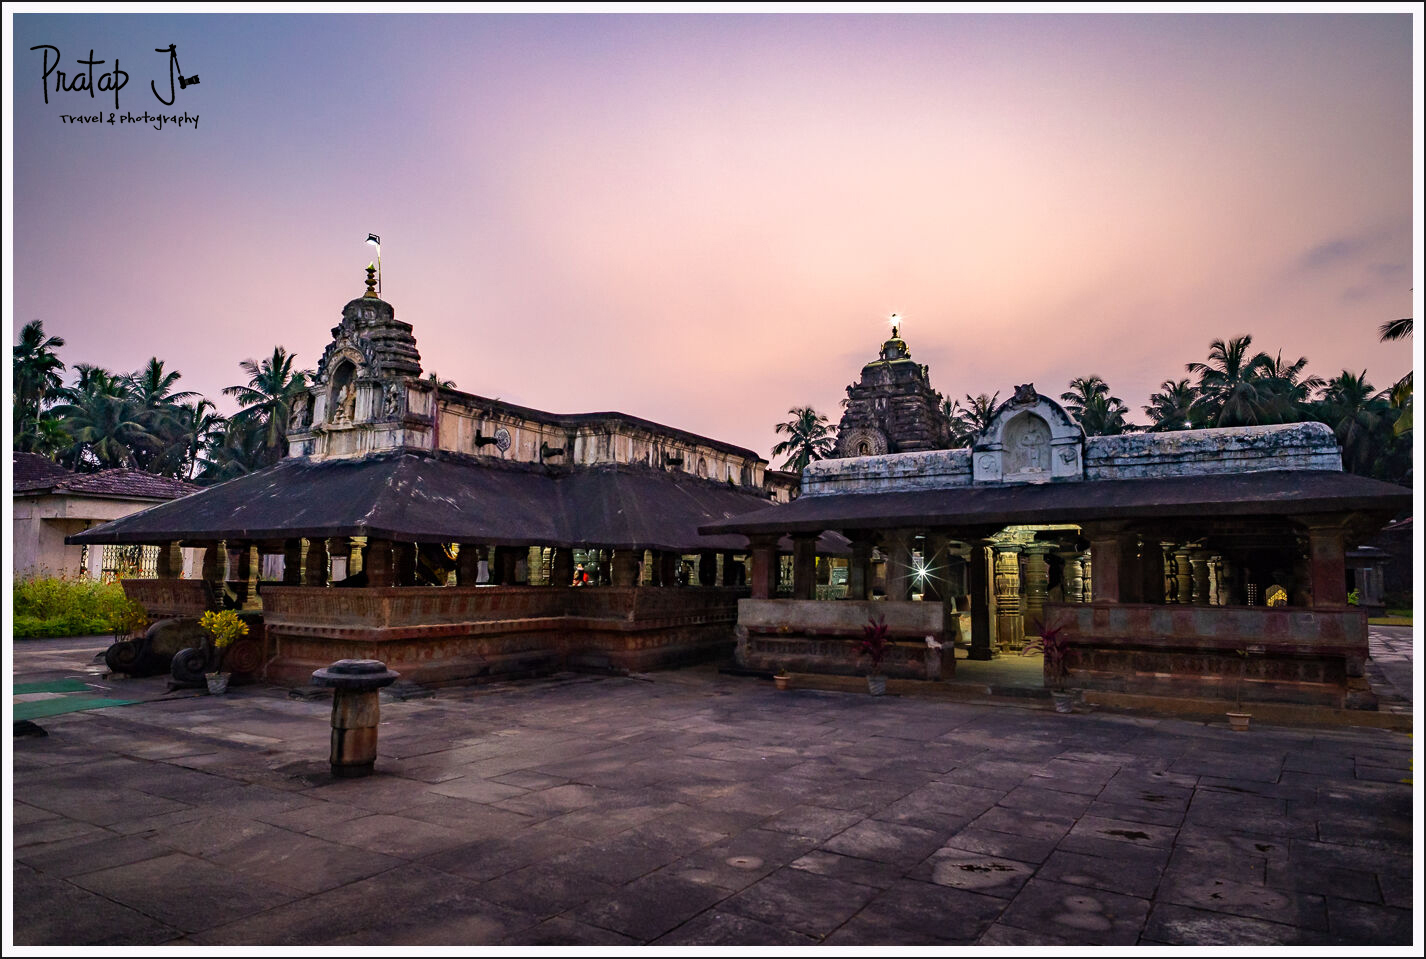
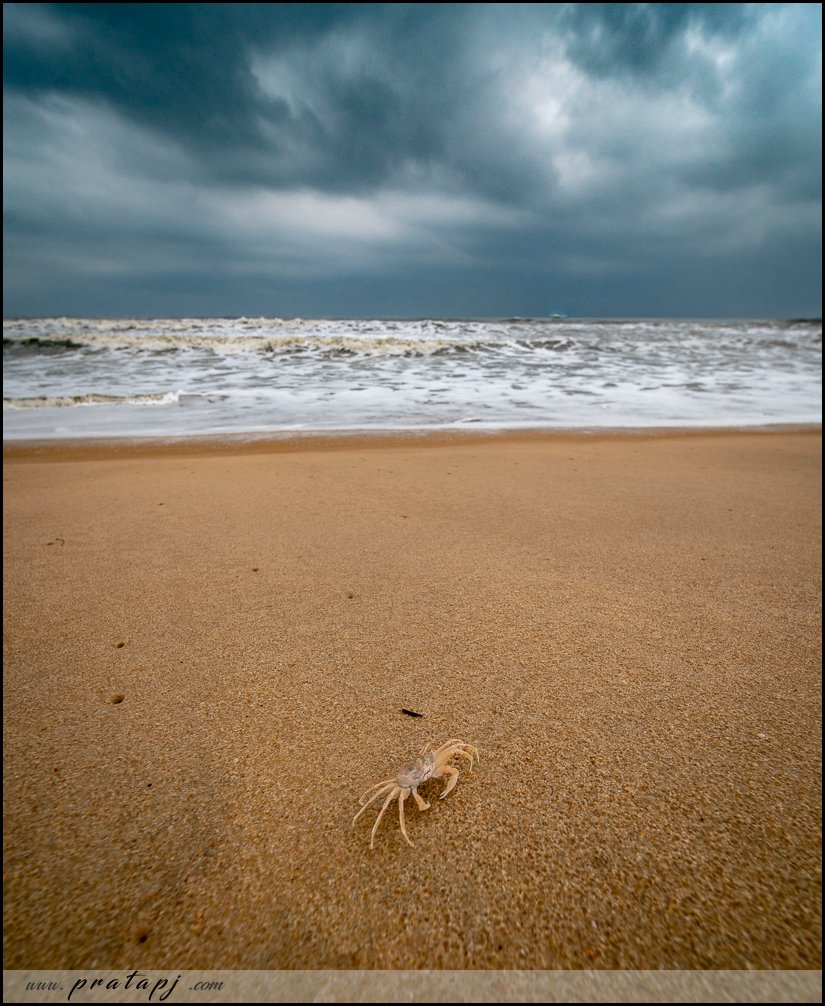
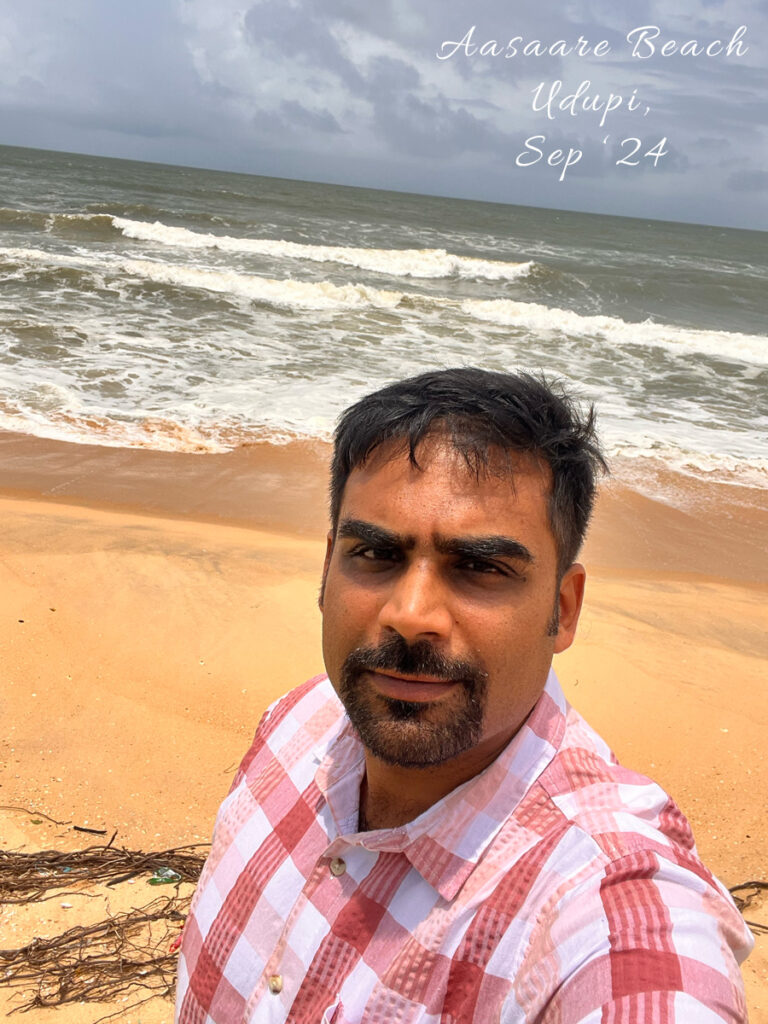
I made a quick trip to Udupi to attend a family function. I revisited my old house, beach and had ice cream at Pubbas. I left my cats at a boarding, which obviously, they hated.
In late September, my father’s elder brother passed away, and I had to perform his last rites and rituals. This responsibility fell on me because he had two daughters, and tradition required a male family member to perform these rituals. The experience was an eye-opener—it forced me to confront a hard truth: Who would do this for me? I have no siblings, no partner, and no children.
The nutrition program started a little late due to these events. When it finally began, the journey of healing became even more intense.
November – December:
I gave my best effort to follow the diet prescribed in the nutrition program, but it was tough. The diet was a departure from my usual eating habits, and procuring the right groceries from multiple places was exhausting. My mother prepared most of the meals, and I had to juggle work, visiting her place, and taking care of my cats.
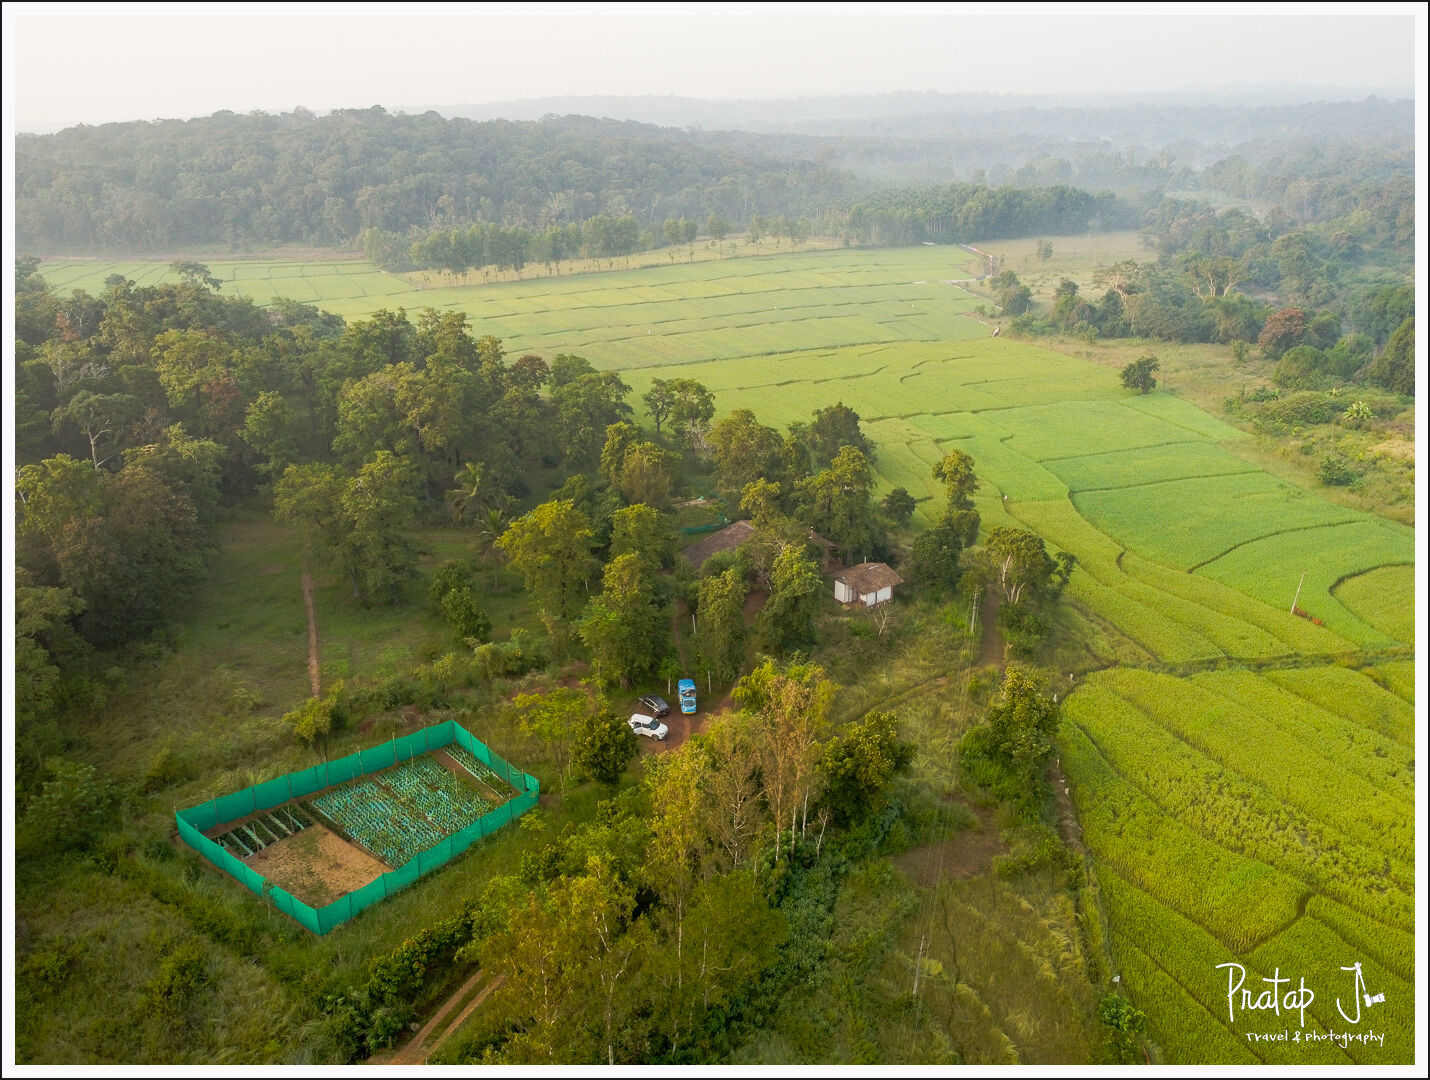
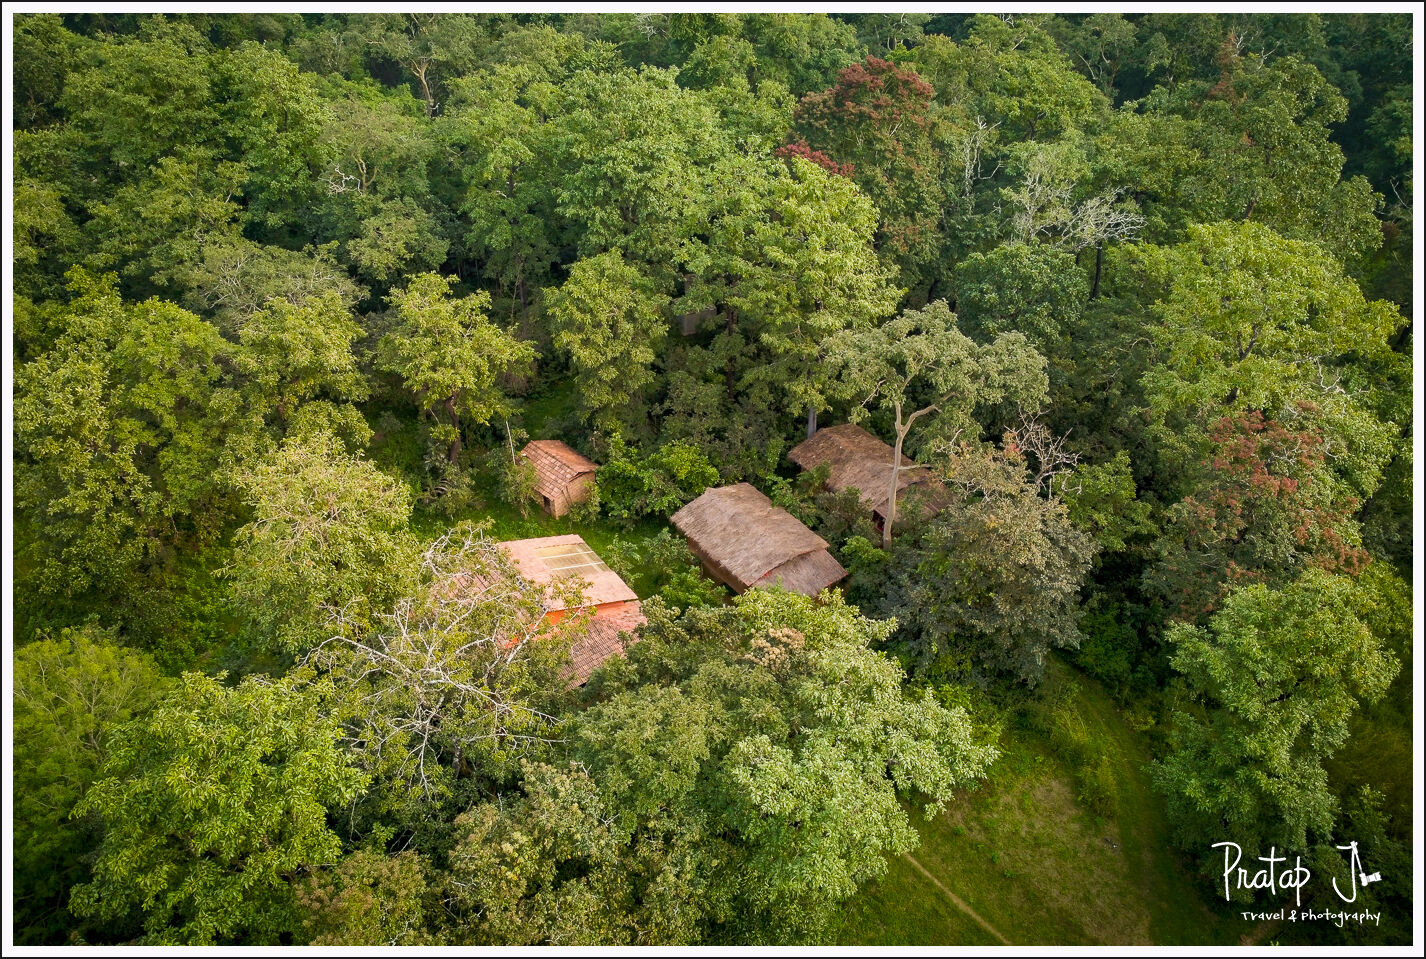
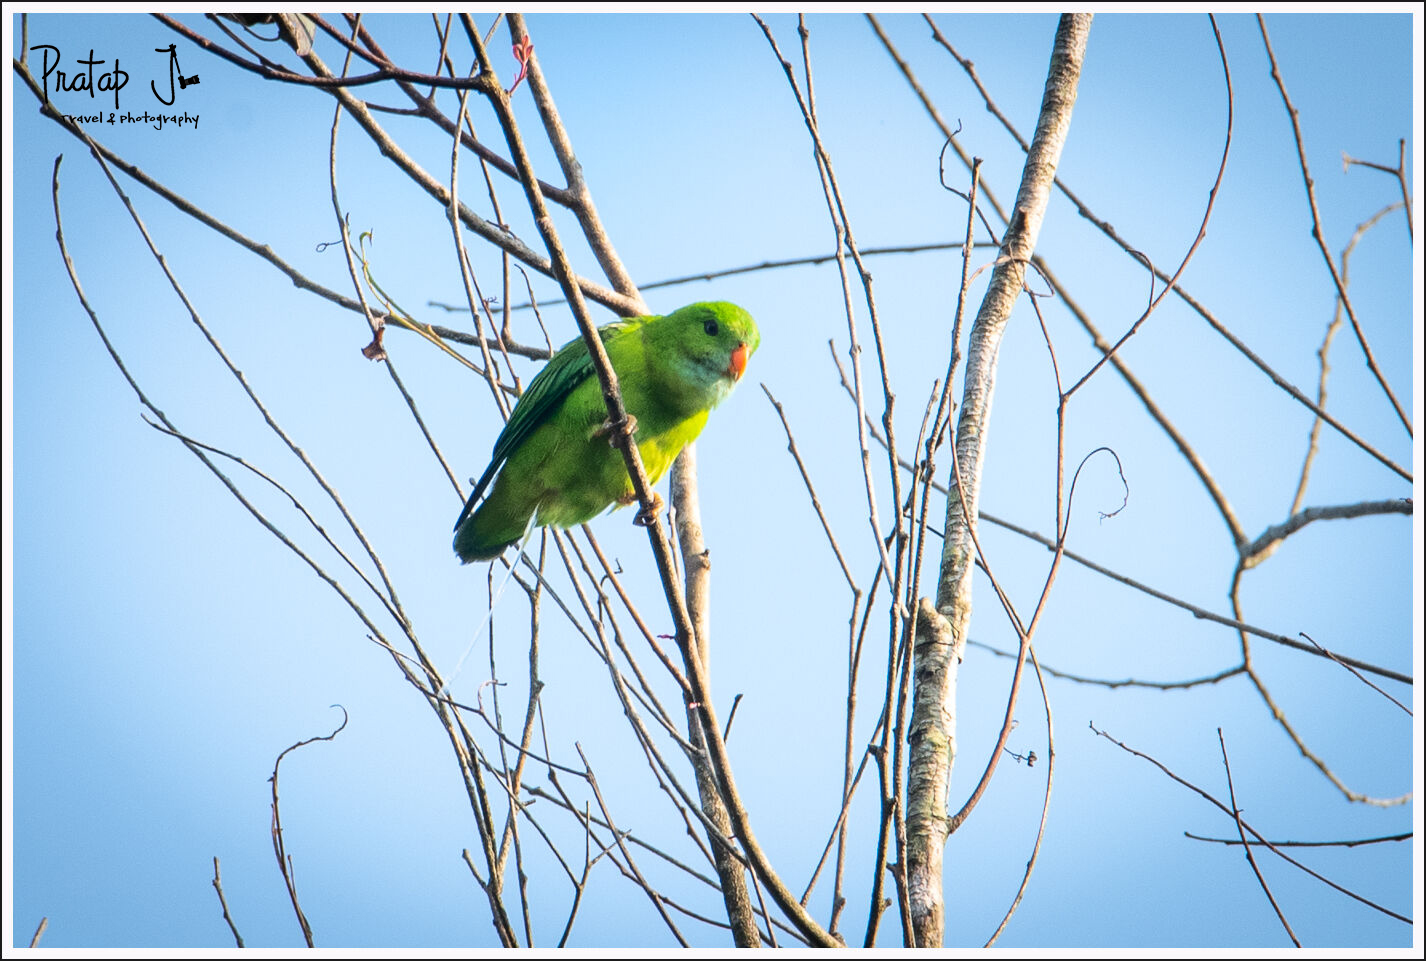
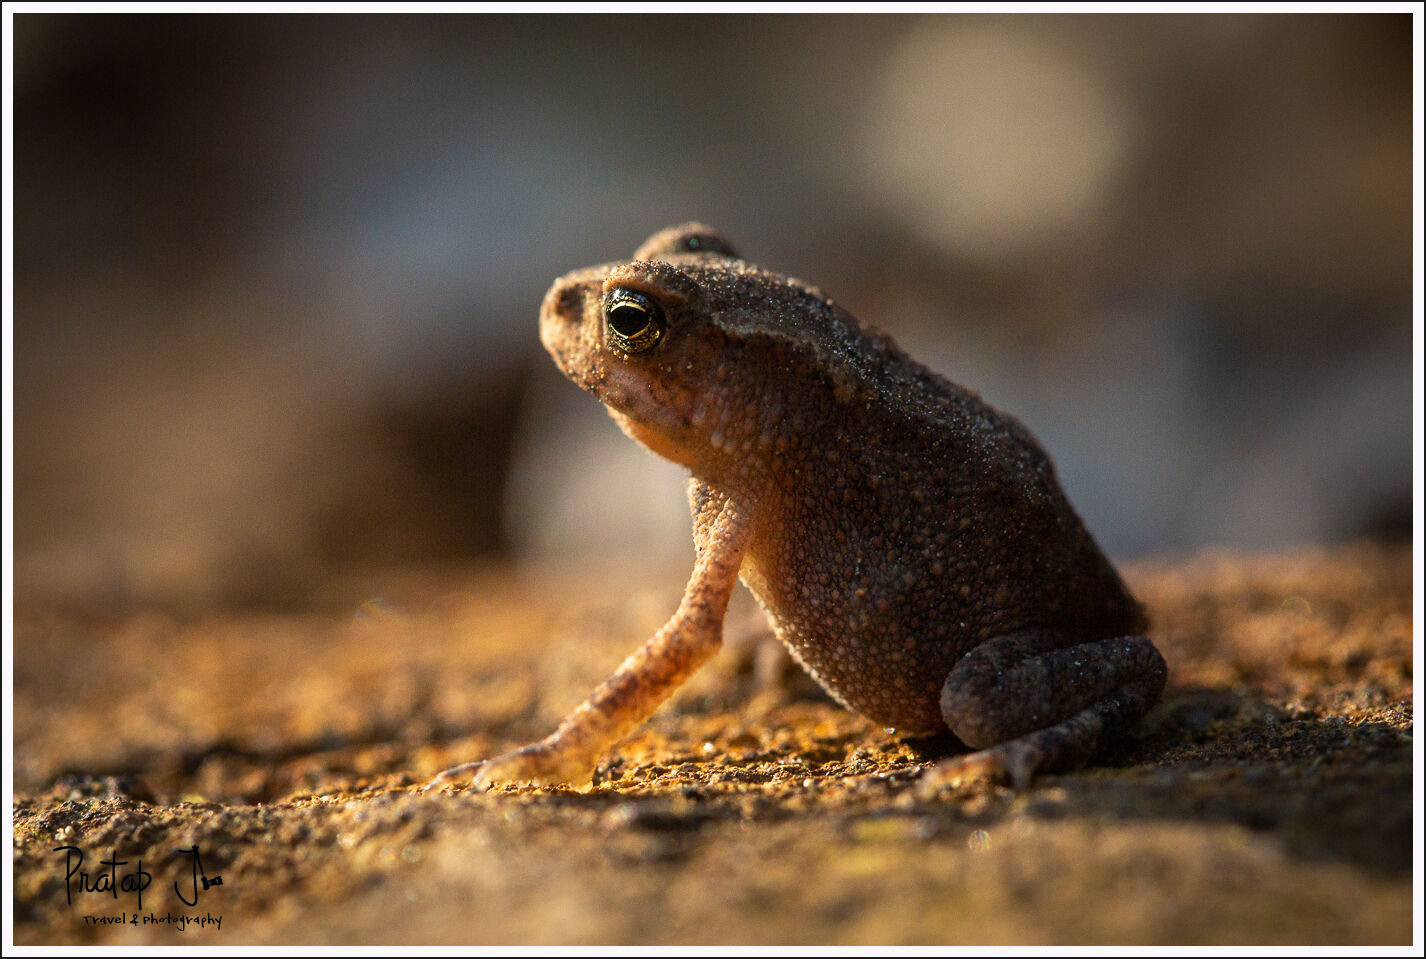
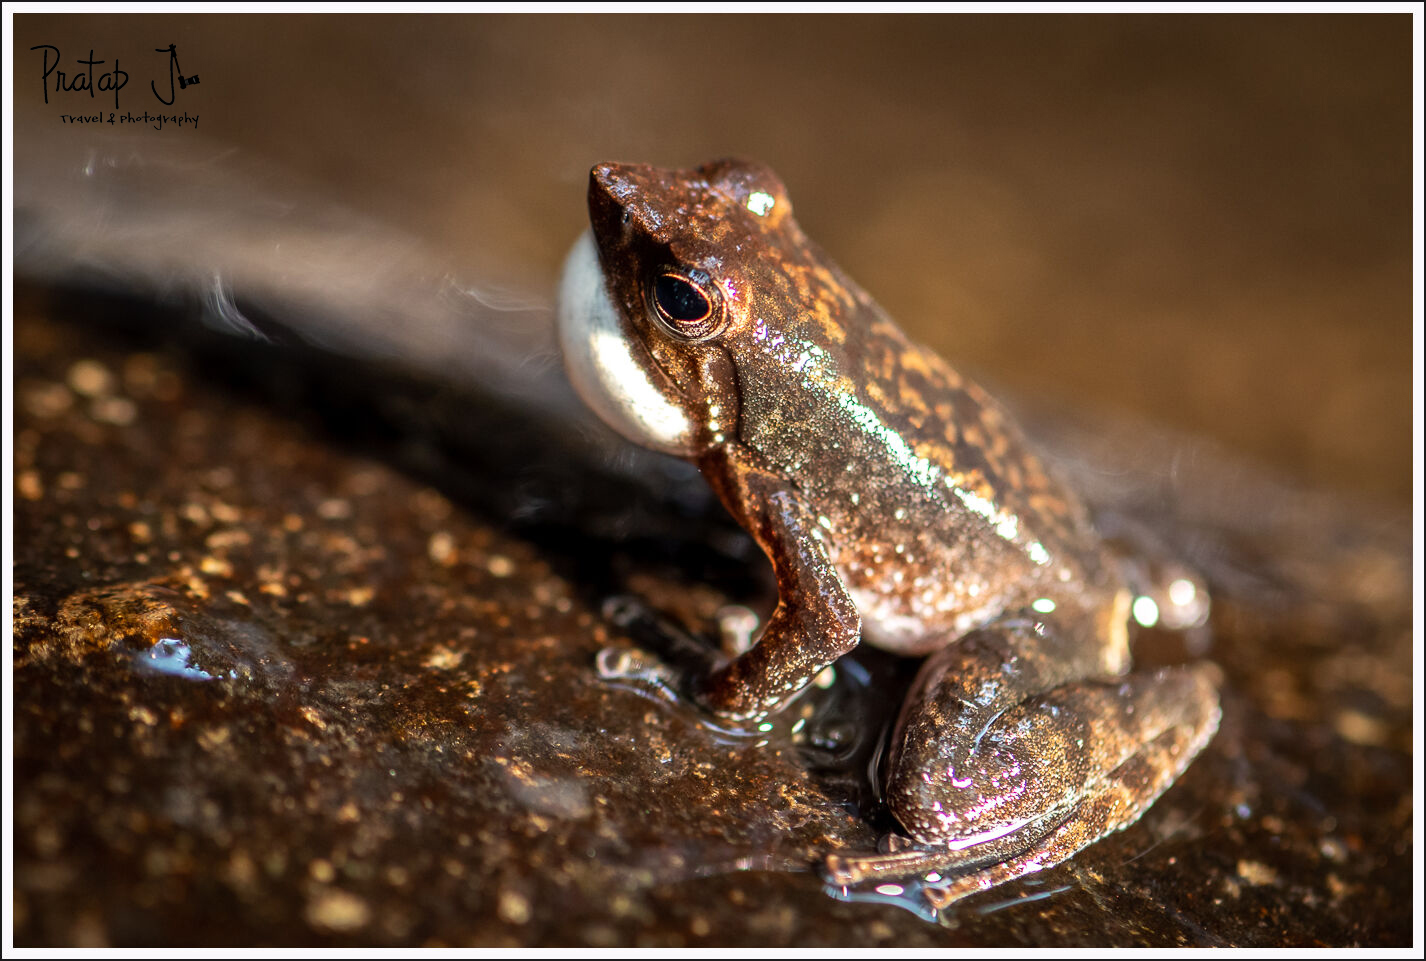
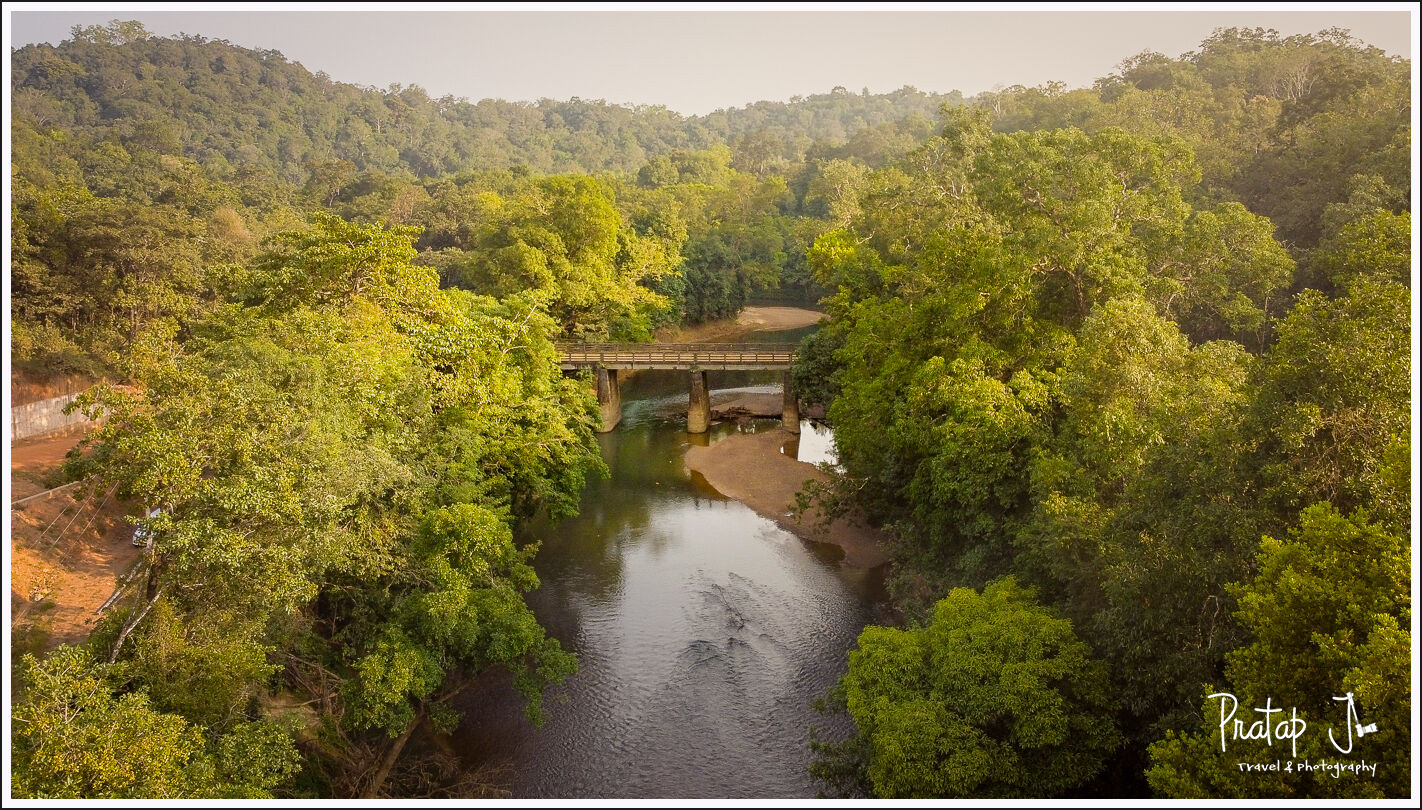
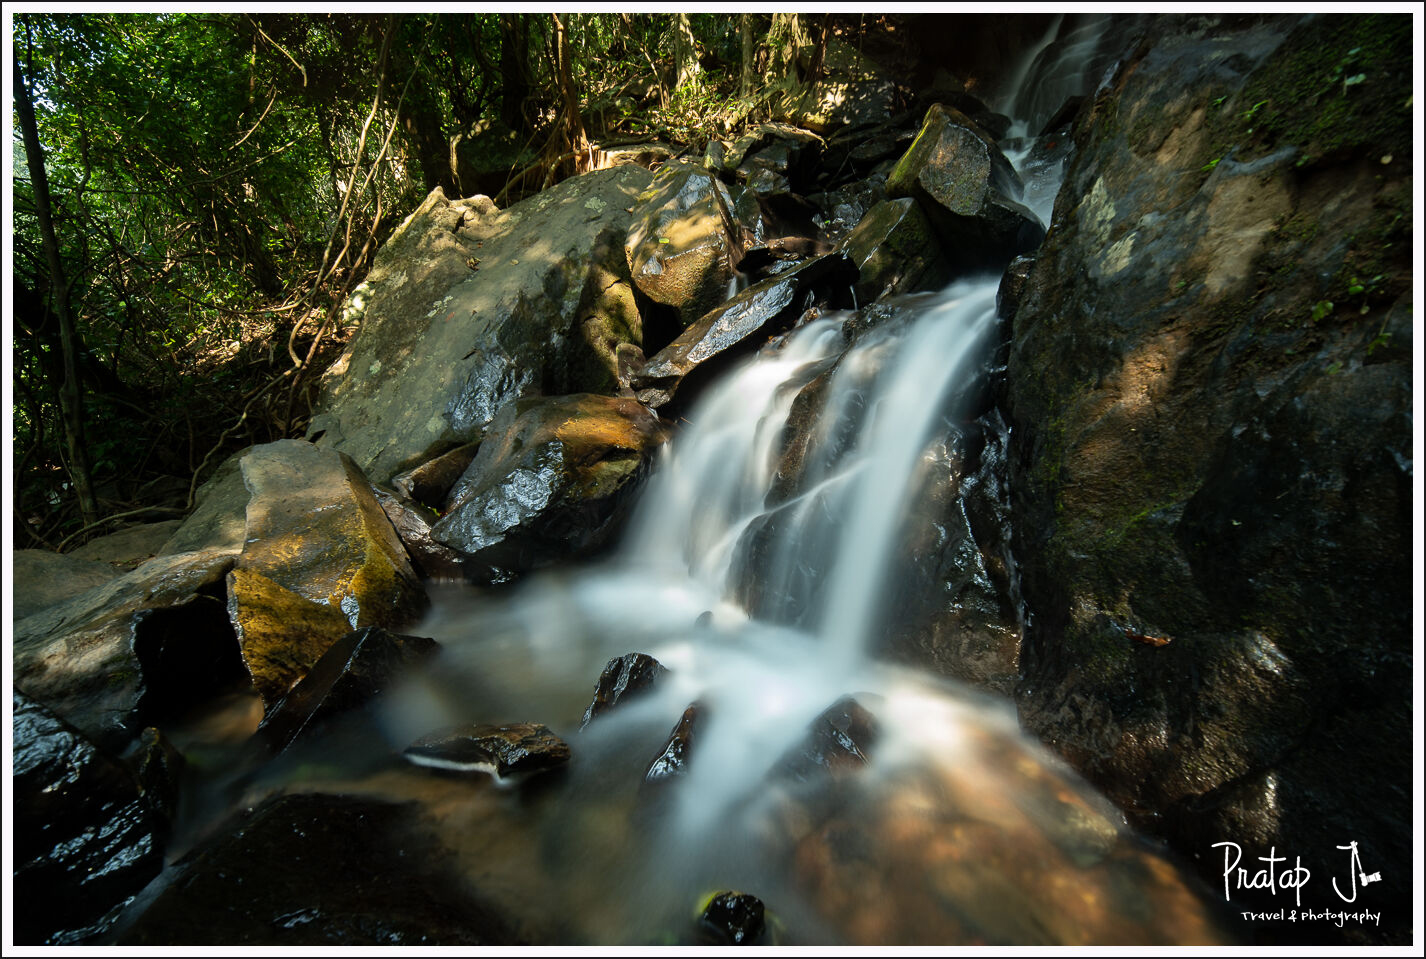
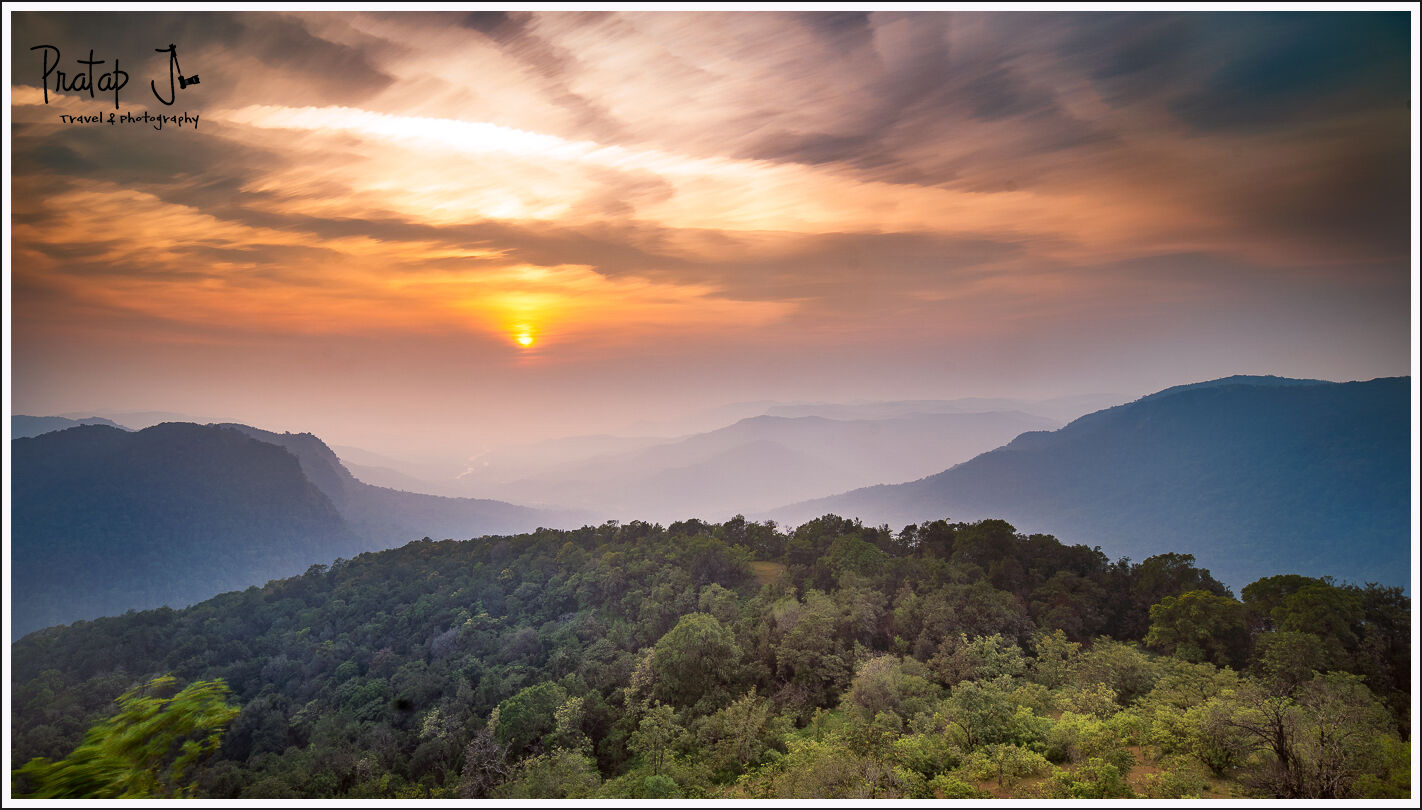
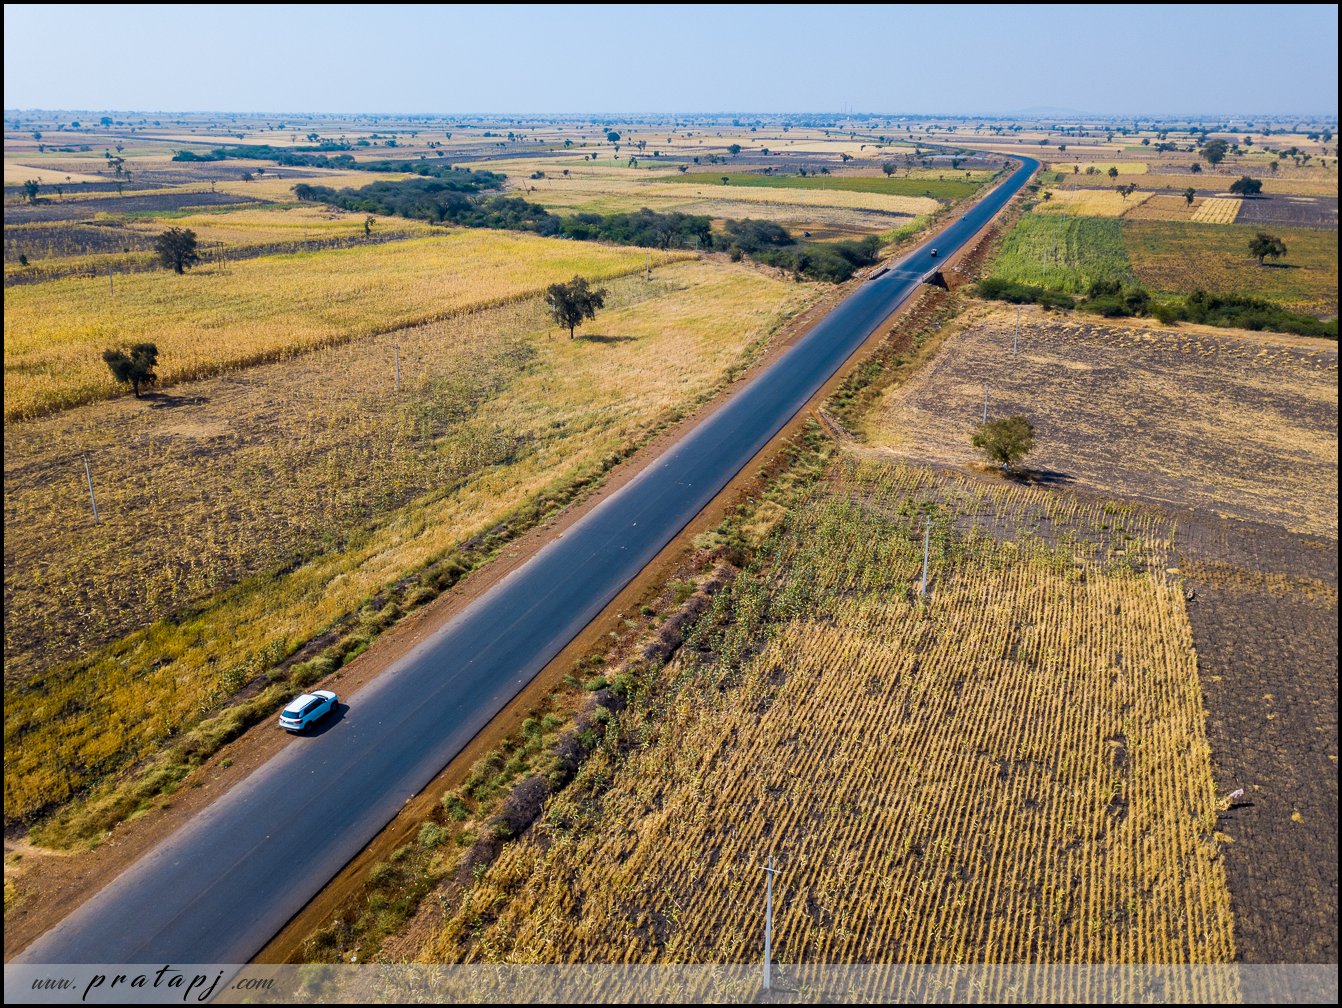
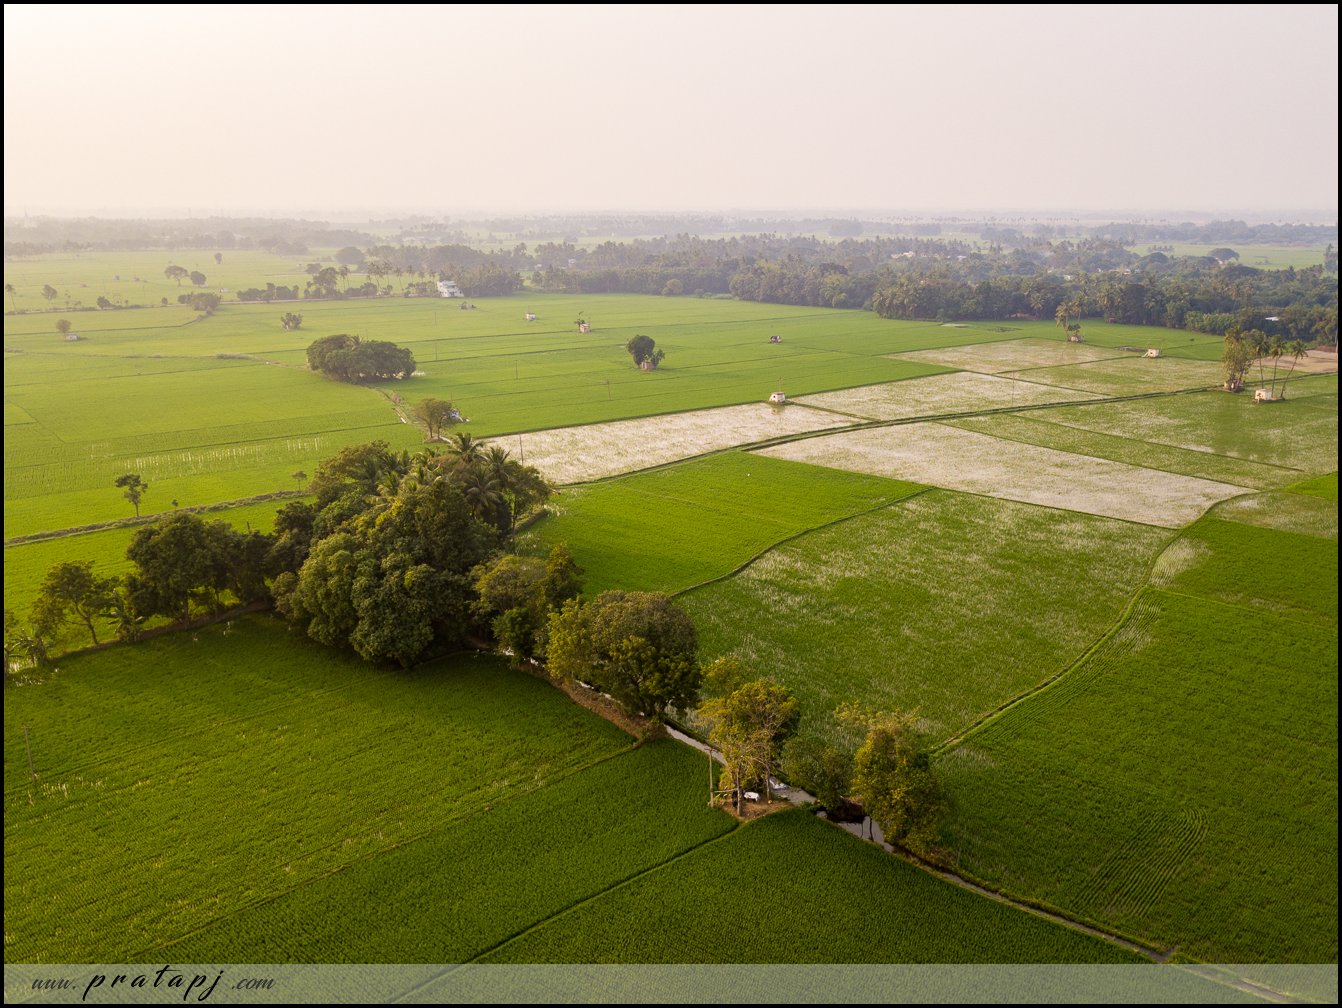
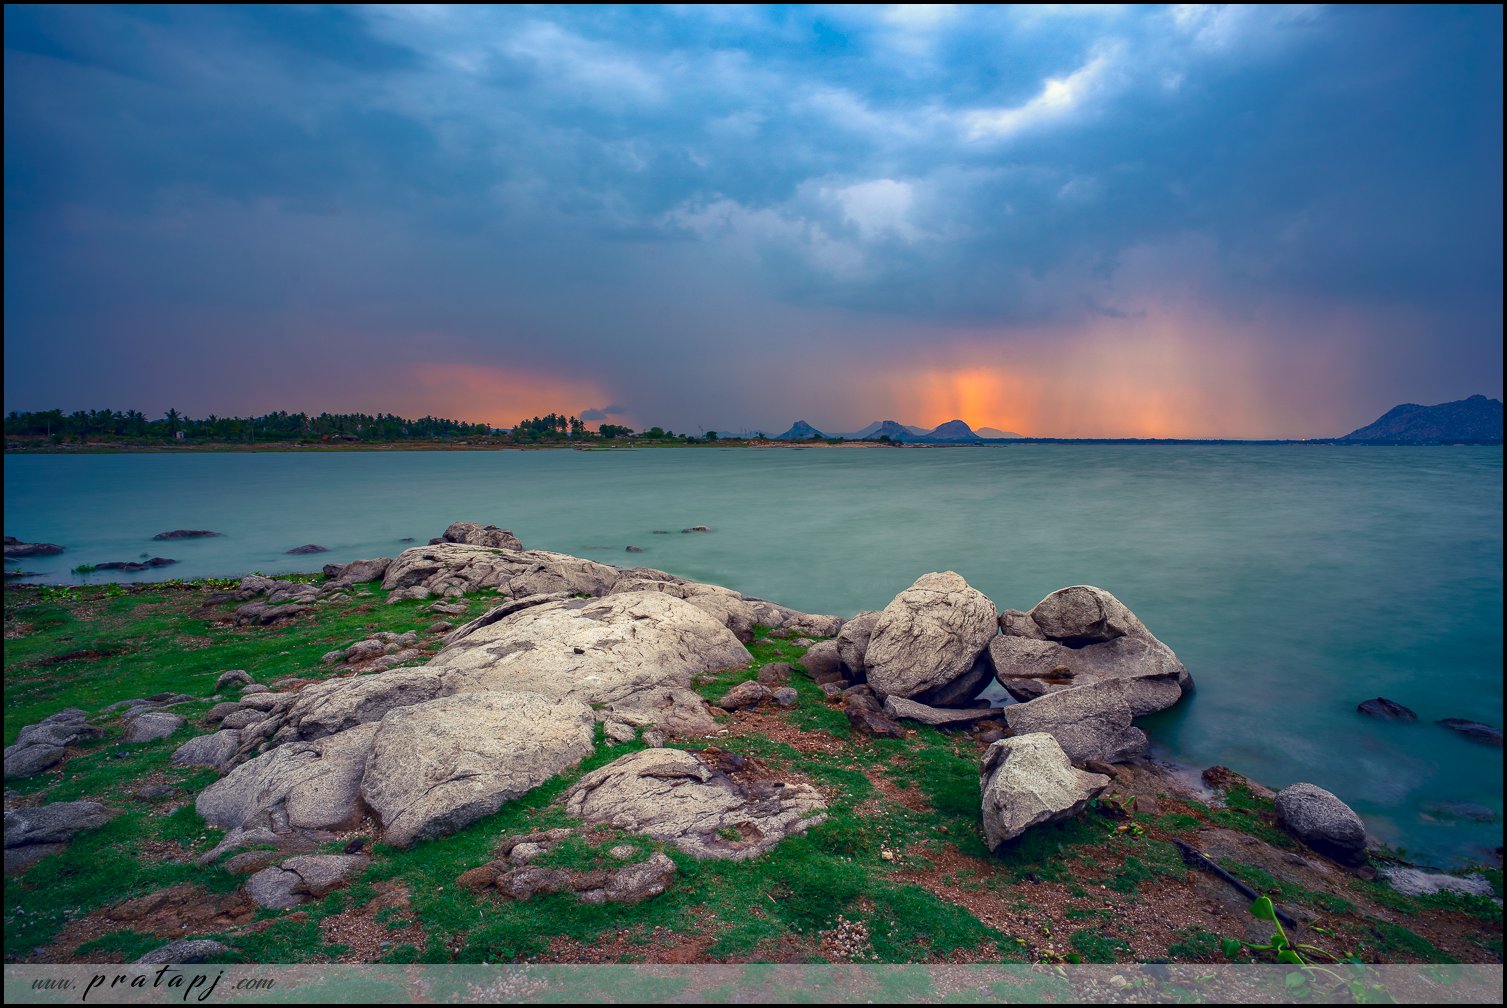
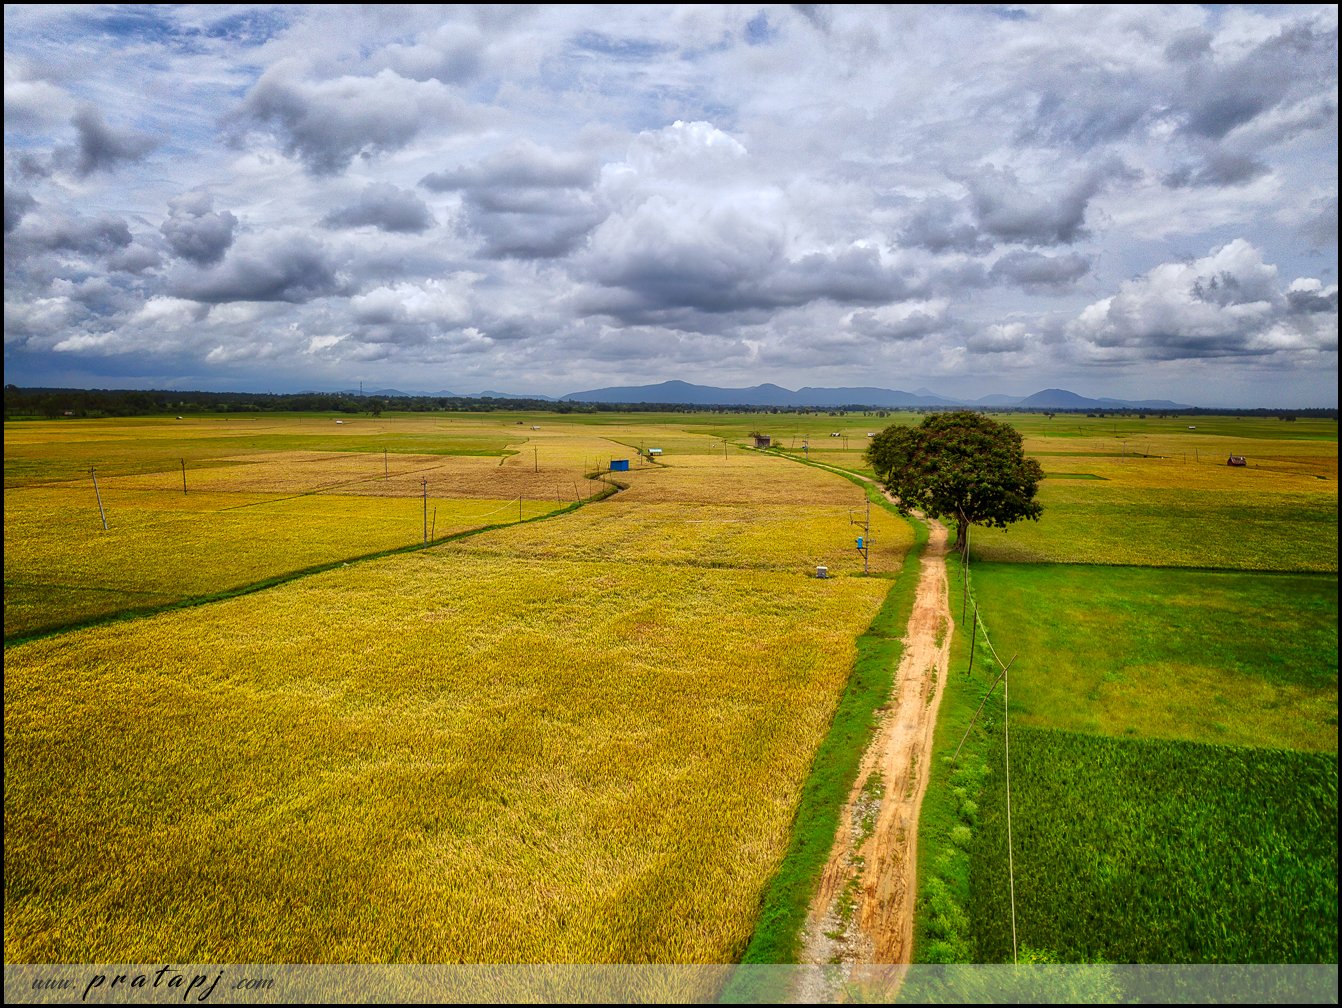
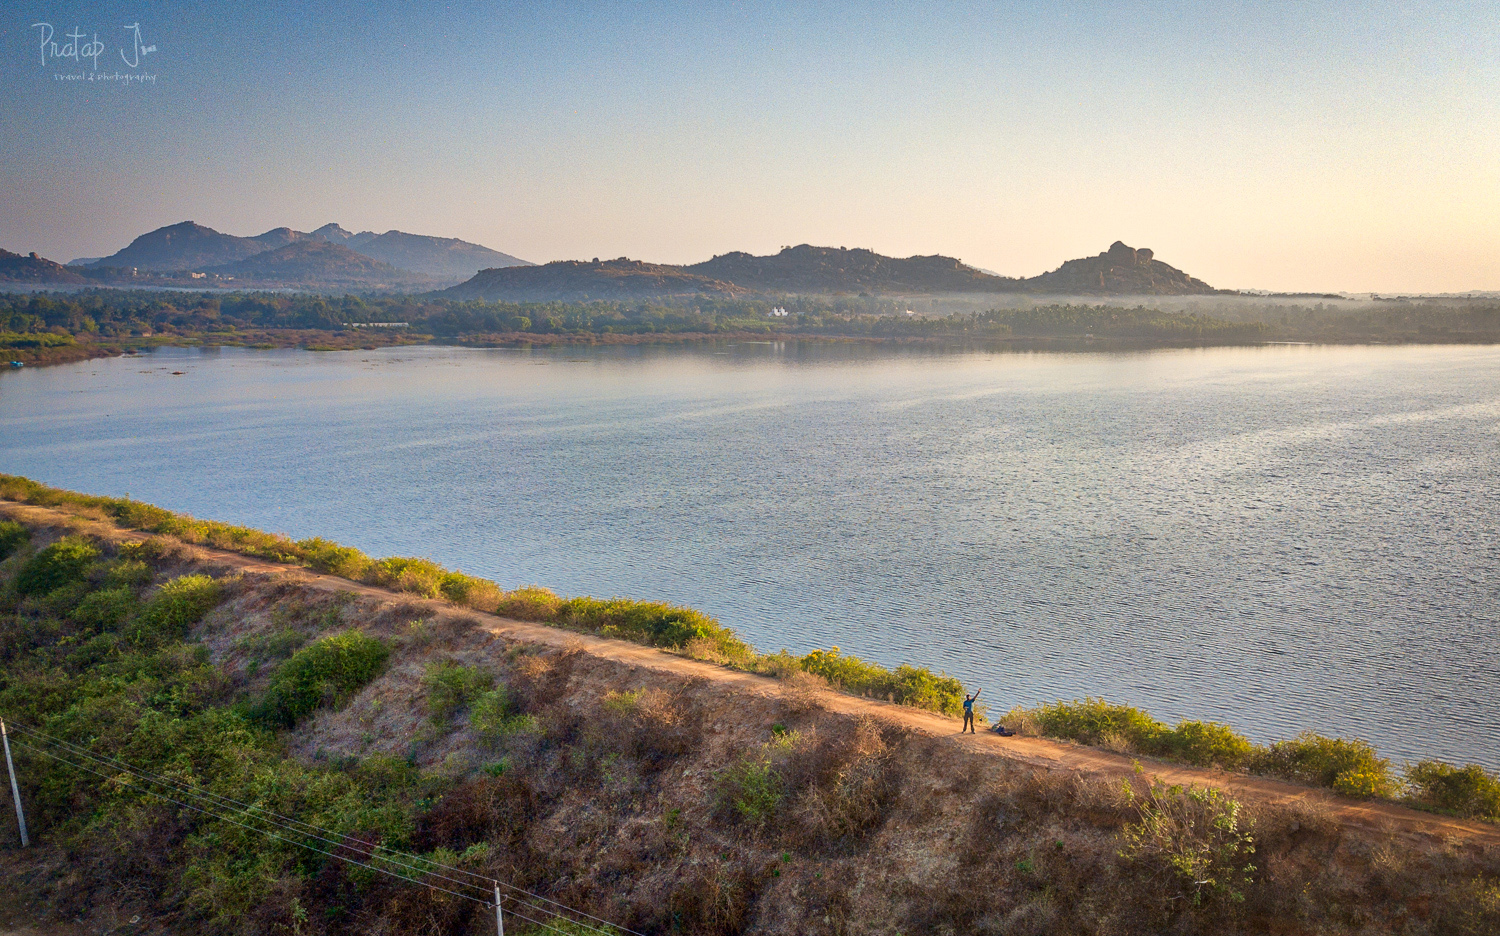
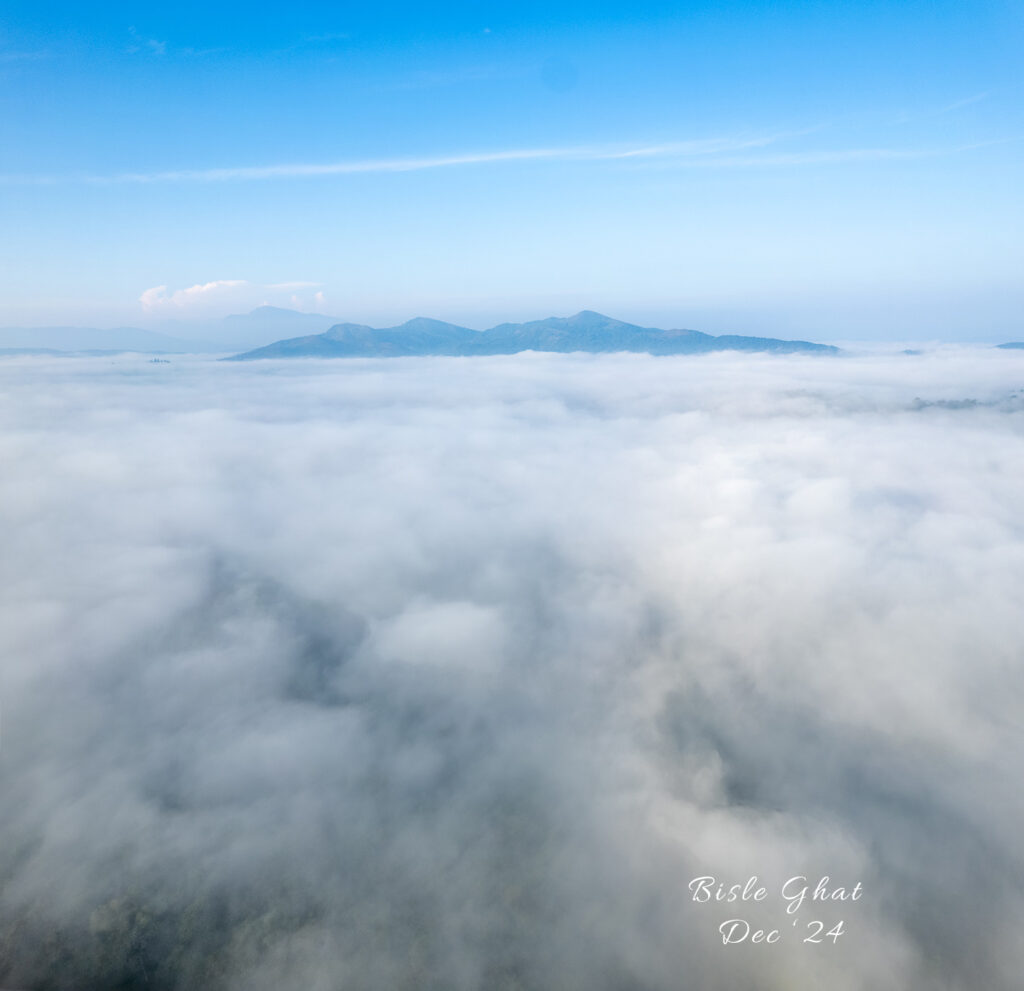
It may not sound overwhelming, considering my house and office are in the same area, but Bangalore’s traffic can make even short commutes feel daunting. I took only one break, traveling to the Western Ghats with friends, just like old times, in early December. This time, I decided to leave the cats at home and take the help of friends to feed them.
In the three months of following the diet, my body began to healing, albeit slowly. My mental health is definitely better than when I stated. I have lost 6 kilos and I feel fitter and more energetic. I picked up valuable insights on gut health in this journey. All this progress has came with hard-hitting realizations. I have understood, more deeply than ever, that my entire adult life until now was spent running away from facing things. I have lost precious years, and my body has borne the brunt of my neglect.
Looking Ahead:
In just three months of focusing on healing my body and mind, I swallowed more bitter pills than ever. Undoing the years I have lost will take far longer.
At 43, I am single, living in a chaotic metropolis, with no dependable relationships or material assets to safeguard my future. My life has been in a constant flux since Covid. Aside from saving some money in the bank, I’ve done nothing to secure what lies ahead. I have the responsibility of two cats, who have helped me in at my lowest, but who did not ask to be brought to Bangalore – a city where people live a substandard life for reasons best known to them. My cats are my lifelong companions now, and all my future plans will have to include them. The challenge of finding a rented house because of my marital status and my pets have urged me to buy my own apartment – something I put away for all these years because I don’t think it is a wise investment.
As of today, I feel more disconnected than ever from photography – because that one hobby consumed me entirely. It was a like a narcotic which helped me escape reality. It gave me validation because I found none in the real world. And more importantly, it made me feel alive because otherwise my life felt like it had no purpose. My parents never acknowledged what I wanted, how I felt, or what I wanted to achieve in my life. Neither did they provide me with anything monetarily so I can get a head start in life. Consequently, I had absolutely no personal roadmap and I spent all these years only trying to secure myself financially. Photography was a distraction from the shackles they had me tied in.
In the past 3 months, I have gotten rid a lot of trash from my head. But the clutter of what I accumulated while living a life of denial and escapism still exists. That needs to be get rid of too.
I miss Udupi and would do anything to go back. My life there was a glimpse of how things could have been, had I lived more consciously immediately after graduation. But the irony is that returning to Udupi would clash directly with my plan of setting right my future – I am never going to find a partner willing to join me there.
While the events leading up to these revelations have been taxing and difficult to deal with, the magnitude of the work in front of me is more daunting. I hope 2025 will be the year I begin living more consciously, tying up loose ends, and putting together a solid plan for the future.